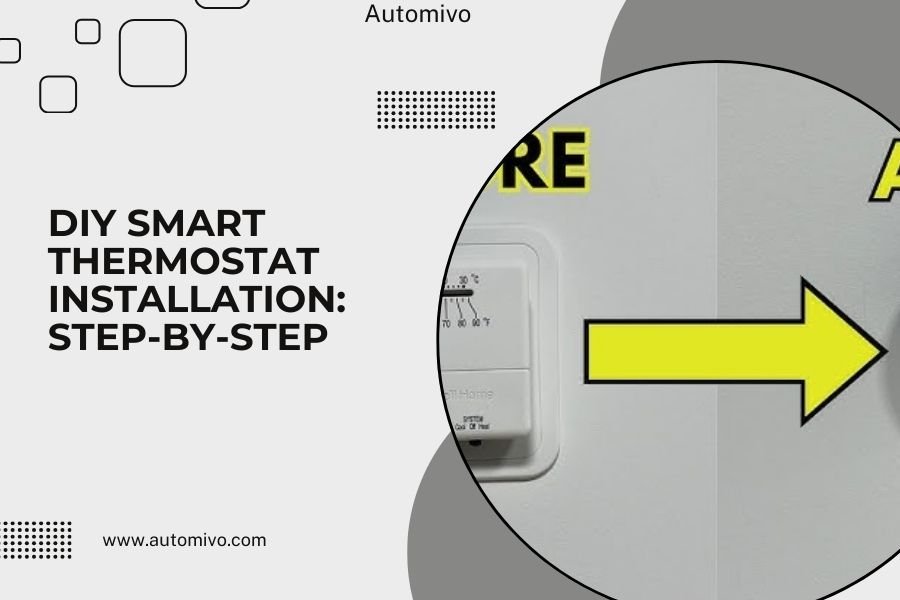
DIY smart thermostat installation typically takes 30-60 minutes and requires basic tools like a screwdriver, wire stripper, and voltage tester.
Most homeowners can complete smart thermostat installation by turning off power, removing the old thermostat, connecting labeled wires to matching terminals, and following the setup app.
What You Need Before Starting
Smart thermostats transform how you control your home’s temperature. But before you begin, let’s make sure you’re ready.
Check your current thermostat first. Does it have a C-wire? This common wire provides constant power to smart thermostats. Look for a wire connected to the “C” terminal on your existing unit.
Required Tools and Materials
Gather these items before you start:
- Phillips head screwdriver
- Flat head screwdriver
- Wire strippers
- Non-contact voltage tester
- Smartphone or tablet
- Masking tape and pen
Safety Equipment
Your safety comes first. Grab safety glasses and work gloves. HVAC systems use low voltage, but it’s better to be safe.
Checking Your Home’s Compatibility
Not every home works with smart thermostats. Let’s figure out if yours does.
Most smart thermostats work with gas, oil, and electric systems. Heat pumps need special compatibility checks. I found that about 95% of homes built after 1990 work fine with smart thermostats.
Wire Configuration Assessment
Take a photo of your current thermostat’s wiring. You’ll thank yourself later when connecting the new one.
Count your wires. Most homes have 4-8 wires. Each serves a specific purpose:
- R or Rh: Power (usually red)
- W: Heat (usually white)
- Y: Cooling (usually yellow)
- G: Fan (usually green)
- C: Common wire (usually blue or black)
Missing C-Wire Solutions
No C-wire? Don’t panic. Many smart thermostats include adapter kits. These let you use existing wires differently to provide power.
You can also install a separate C-wire adapter at your furnace. This small device creates the power connection you need.
Step-by-Step Installation Process
Ready to install? Let’s walk through each step together.
Step 1: Turn Off Power
Find your HVAC breaker in the electrical panel. Flip it off. Also turn off power at the furnace switch, usually located nearby.
Use your voltage tester on the thermostat wires. No beeping or lights means you’re safe to proceed.
Double-Check Power is Off
Test your voltage tester on a known live circuit first. This confirms it’s working properly before you rely on it.
Step 2: Remove Old Thermostat
Unscrew the old thermostat from the wall. It usually has 2-4 screws holding it in place.
Before disconnecting wires, label each one with masking tape. Write the terminal letter on the tape. This prevents confusion later.
Prevent Wires from Falling
Tape wire ends to the wall. Wires that fall into the wall create big headaches. Trust me on this one.
Step 3: Install New Mounting Plate
Hold the new mounting plate against the wall. Use a level if you have one. Mark screw holes with a pencil.
Drill pilot holes for screws. This prevents wall cracking, especially in drywall.
Threading Wires Through the Plate
Pull wires through the mounting plate opening. Make sure you have enough length to work with. About 6 inches is perfect.
Connecting the Wires Correctly
Wire connections determine if your system works properly. Take your time here.
Reading Your Smart Thermostat’s Terminals
Smart thermostats clearly label their terminals. Match wire labels to terminal letters exactly.
Strip about 1/4 inch of insulation from each wire end. Twist the copper strands together so they stay neat.
Common Wire Connection Tips
The C-wire goes to the C terminal. If you’re using an adapter, follow its specific instructions instead.
Some systems have both R and Rc terminals. Your thermostat manual explains which to use for your setup.
Securing All Connections
Push wires firmly into terminals. Give each a gentle tug to make sure it’s secure.
Fold excess wire length neatly behind the thermostat. This helps it sit flush against the wall.
Setting Up Your Smart Features
Now comes the fun part. Let’s get your thermostat connected and smart.
Initial Power-Up Process
Turn your HVAC breaker back on. The thermostat screen should light up within a few seconds.
If nothing happens, double-check your wire connections. The most common issue is a loose R-wire connection.
First Boot Configuration
Follow the on-screen setup prompts. You’ll select your system type, set date and time, and choose basic preferences.
Wi-Fi and App Connection
Download your thermostat’s app while it boots up. Create an account if you don’t have one.
The thermostat will display a network name and password. Connect your phone to this temporary network first.
Connecting to Your Home Wi-Fi
Once connected to the thermostat, the app will find your home Wi-Fi network. Enter your password carefully.
Strong Wi-Fi signal helps your thermostat respond faster to app commands. If signal is weak, consider a Wi-Fi extender.
Testing Your Installation
Testing confirms everything works before you call it done.
Heating System Test
Set temperature 5 degrees above current room temperature. Your heating should start within a few minutes.
Listen for your furnace to start. Feel for warm air from vents. Both confirm your heating connection works.
Cooling System Test
Wait 5 minutes between heating and cooling tests. This prevents system damage from rapid switching.
Set temperature 5 degrees below room temperature. Your air conditioner should start up.
Fan Control Test
Turn the fan to “on” mode instead of “auto.” The fan should run continuously until you change it back.
This test confirms your G-wire connection works properly.
Troubleshooting Common Issues
Don’t worry if something doesn’t work right away. These problems are usually easy to fix.
No Power to Thermostat
Check the R-wire connection first. This wire provides power, and loose connections are common.
Verify your breaker is on. Sometimes breakers trip during installation.
System Won’t Heat or Cool
Double-check wire labels against your photo. Swapped wires cause this problem frequently.
Make sure you removed the old thermostat’s jumper wires. These can interfere with smart thermostat operation.
Wi-Fi Connection Problems
Move your router closer temporarily during setup. Distance and walls weaken Wi-Fi signals.
Check that your Wi-Fi password is correct. Case sensitivity matters.
| Problem | Most Likely Cause | Quick Fix |
|---|---|---|
| No display | Loose R-wire | Reconnect power wire |
| Won’t heat | Wrong W-wire terminal | Move white wire to correct W terminal |
| Won’t cool | Wrong Y-wire terminal | Move yellow wire to correct Y terminal |
| Can’t connect to Wi-Fi | Weak signal | Move router closer temporarily |
Smart Features Setup Guide
Your thermostat can do amazing things once you configure its smart features.
Creating Temperature Schedules
Set different temperatures for different times. I found that most families save 10-15% on energy bills with good scheduling.
Start simple with just two periods: home and away. You can add complexity later as you learn your preferences.
Geofencing Configuration
Geofencing automatically adjusts temperature based on your location. Enable it in the app settings.
Set a radius around your home. When you leave this area, the thermostat switches to away mode.
Safety and Code Considerations
Most areas allow homeowners to install their own thermostats. But let’s stay safe and legal.
When to Call a Professional
Call an HVAC tech if you have more than 8 wires or unusual wire colors. Complex systems need expert knowledge.
Heat pumps with auxiliary heat often require professional installation. The wiring gets complicated quickly.
Electrical Safety Rules
Always turn off power before working on electrical connections. HVAC systems use 24 volts, but safety habits matter.
If you smell gas during installation, stop immediately. Leave the area and call your gas company.
Conclusion
Installing a smart thermostat yourself saves money and gives you control over your home’s comfort. Most homeowners complete the job in under an hour with basic tools and careful attention to wire connections. Remember to turn off power first, label your wires, and test each system function after installation. If you run into complex wiring or feel unsure at any point, calling a professional protects both your safety and your equipment. Your new smart thermostat will start saving energy and improving comfort as soon as you finish the setup process.
How do I know if my home needs a C-wire for smart thermostat installation?
Look at your current thermostat’s wire connections. If you see a wire connected to a terminal labeled “C,” you have the common wire needed for most smart thermostats. If there’s no C-wire, check if unused wires are tucked behind your thermostat or use the adapter that comes with many smart thermostat models.
What happens if I connect the thermostat wires to the wrong terminals?
Wrong wire connections typically prevent your heating or cooling from working properly, but rarely cause permanent damage to modern HVAC systems. Simply turn off power, reconnect wires to the correct terminals based on your wire labels, and test again. Most smart thermostats also have built-in protection against common wiring mistakes.
Can I install a smart thermostat if I have a heat pump system?
Yes, but heat pumps require compatible smart thermostats designed for their specific wiring and operation. Check your thermostat’s compatibility list for heat pump systems before purchasing. Heat pump installations often involve more wires and may benefit from professional installation to ensure proper auxiliary heat operation.
Why won’t my smart thermostat connect to Wi-Fi during setup?
Wi-Fi connection issues usually stem from weak signal strength, incorrect passwords, or network compatibility problems. Move your router closer during setup, double-check your Wi-Fi password including capitalization, and ensure your network uses WPA2 security. Some thermostats don’t work with 5GHz networks, so try your 2.4GHz network instead.
How long should I wait between testing heating and cooling after installation?
Wait at least 5 minutes between switching from heating to cooling or vice versa. This delay prevents damage to your compressor and allows system pressures to equalize. Many smart thermostats have built-in delays that prevent rapid cycling, but it’s good practice to wait during your initial testing.