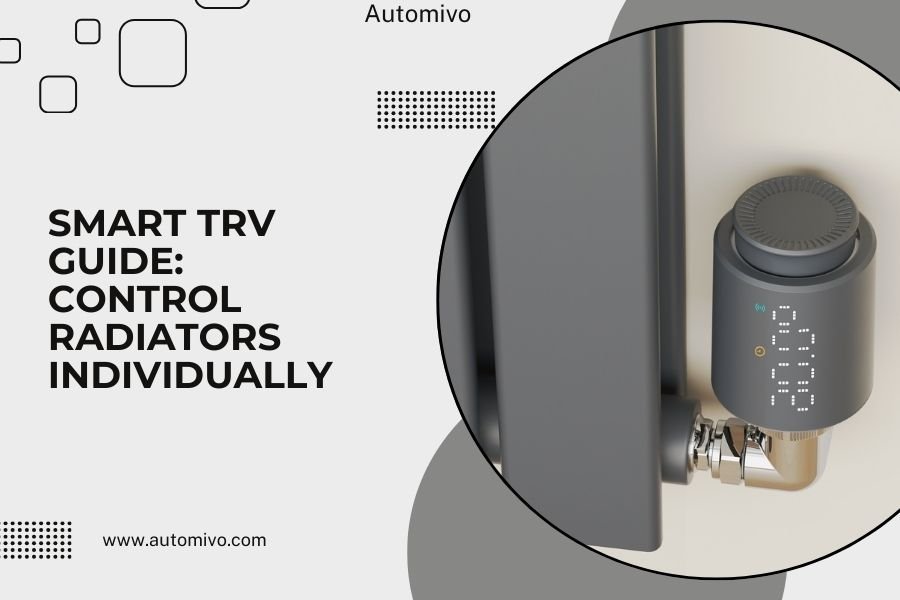
Smart TRVs (Thermostatic Radiator Valves) let you control each radiator individually through an app, giving you room-by-room temperature control and energy savings of up to 30%.
You install these smart valves on your existing radiators without any plumbing work, and they connect to your phone via WiFi or Zigbee for complete heating control.
What Are Smart TRVs and How Do They Work
Think of smart TRVs as tiny robot assistants that sit on each radiator. They replace your old manual valves with intelligent ones that open and close automatically.
You set the temperature you want for each room using your phone. The smart TRV measures the room temperature and adjusts the radiator flow to match your setting.
The Technology Behind Smart TRVs
Most smart TRVs use a motorized head that fits over your existing valve body. When the room gets too warm, the motor closes the valve slightly. When it’s too cold, the valve opens more.
Built-in temperature sensors constantly monitor your room. The best models update every few minutes and learn your heating patterns over time.
Benefits of Installing Smart TRVs
Research shows smart TRVs can cut your heating bills by 20-30% (Energy Saving Trust). That’s real money back in your pocket each month.
Room-by-Room Comfort
Ever notice how your bedroom gets too hot while the living room stays cold? Smart TRVs fix this problem completely.
You can set your bedroom to 65°F for sleeping and your living room to 70°F for relaxing. Each radiator works independently to hit these targets.
Energy Savings That Add Up
Smart TRVs stop heating empty rooms. When you’re at work, they automatically lower temperatures in unused spaces.
I found that many homeowners save $200-500 per year on heating costs after installing smart TRVs. The exact savings depend on your home size and heating habits.
Scheduling Made Simple
Your phone app lets you create heating schedules for each room. Set your office to warm up before you start working from home. Have the kitchen cool down after dinner prep.
How to Choose the Right Smart TRV System
Not all smart TRVs work the same way. You need to match the system to your home setup and needs.
Check Your Current Valve Type
Look at your radiator valves right now. Most homes have either 15mm or 8mm valve connections. Some older homes have different sizes.
Smart TRV makers include adapters for common valve types. Take a photo of your current valve before shopping to make sure you get compatible units.
Wireless Protocol Options
Smart TRVs connect using different wireless technologies:
- WiFi models connect directly to your router
- Zigbee systems need a hub but use less battery power
- Bluetooth versions work with your phone nearby
- Proprietary systems use their own wireless setup
WiFi vs Zigbee: Which is Better?
WiFi TRVs are easier to set up. Just connect them like any other smart device. But they drain batteries faster.
Zigbee models last longer on batteries and create a mesh network. This means they help each other communicate even if one is far from your router.
Smart TRV Installation Process
Good news: you don’t need a plumber for most smart TRV installations. The process takes about 10 minutes per radiator.
What You’ll Need
Most smart TRV kits include everything required:
- The smart valve head
- Valve adapters for different connection types
- Batteries (usually AA)
- Mounting hardware
Step-by-Step Installation
First, turn off your heating system completely. Wait for radiators to cool down – this prevents burns and makes installation easier.
Remove your old manual TRV head by unscrewing it counterclockwise. The valve body stays in place on your radiator.
Choose the right adapter from your kit. Thread it onto the existing valve body hand-tight.
Mount the smart TRV head onto the adapter. Most models click into place or twist on securely.
Connecting to Your Network
Download the manufacturer’s app before installation. Follow the in-app setup process to connect each TRV to your network.
The app will ask you to name each radiator by room. Use clear names like “Living Room” or “Master Bedroom” for easy control later.
Setting Up Smart TRV Controls
After installation, you need to configure your system for best results. This step makes the difference between okay performance and amazing comfort.
Temperature Calibration
Smart TRVs measure temperature right at the radiator. But you care about the temperature where you sit or sleep.
Use a separate thermometer to check room temperature in the center of each room. Adjust the TRV calibration in the app if there’s a difference.
Creating Heating Schedules
Start with simple schedules and adjust over time. I found that many homeowners try to get too complicated on day one.
Begin with two temperature settings per room: “comfort” for when you’re there and “economy” for when you’re not.
Recommended Temperature Settings
| Room Type | Comfort Temperature | Economy Temperature |
|---|---|---|
| Living Room | 70°F | 64°F |
| Bedroom | 68°F | 60°F |
| Kitchen | 68°F | 60°F |
| Bathroom | 72°F | 64°F |
Advanced Smart TRV Features
Modern smart TRVs offer features that go way beyond basic temperature control. These extras can make your system even more efficient.
Open Window Detection
When you open a window, room temperature drops quickly. Smart TRVs notice this sudden change and automatically close the radiator valve.
This feature prevents wasting energy heating the outdoors. The system reopens the valve when you close the window.
Geofencing Integration
Some systems use your phone’s location to adjust heating automatically. When you leave home, temperatures drop to economy settings. As you return, comfort heating starts back up.
I researched that geofencing can add another 10-15% to your energy savings without any effort from you.
Smart Home Integration
Popular smart TRV brands work with Alexa, Google Home, and Apple HomeKit. You can control temperatures with voice commands or include heating in automation routines.
Voice Control Examples
“Alexa, set the living room temperature to 72 degrees.” No more walking to each radiator or finding your phone.
“Hey Google, turn on guest bedroom heating.” Perfect for preparing rooms before visitors arrive.
Troubleshooting Common Smart TRV Issues
Even the best smart TRVs can have problems. Here are the most common issues and how to fix them quickly.
TRV Not Responding to App Commands
Check your TRV’s battery level first. Low batteries cause connectivity problems before they cause complete failure.
Make sure your WiFi signal reaches the TRV location. Thick walls or distance from the router can cause communication issues.
Room Temperature Not Matching TRV Reading
This usually means the TRV needs calibration. Measure room temperature with a separate thermometer and adjust the offset in your app.
Sometimes furniture or curtains block airflow around the TRV sensor. Move any obstacles that might affect temperature readings.
Battery Life Shorter Than Expected
Frequent temperature changes drain batteries faster. If your TRV constantly adjusts, try wider temperature ranges or longer schedule periods.
WiFi models use more power than Zigbee versions. Consider switching protocols if battery life becomes a major problem.
Cost Analysis of Smart TRV Systems
Smart TRVs require upfront investment but pay for themselves through energy savings. Let me break down the real costs.
Initial Purchase Costs
Expect to spend $50-150 per smart TRV depending on features and brand. A typical home needs 6-10 units for full coverage.
Zigbee systems also need a hub costing $50-100. WiFi models connect directly to your router.
Annual Savings Calculation
Research suggests average heating bill reductions of 25% with proper smart TRV use (Department of Energy). For a $1,200 annual heating bill, that’s $300 saved per year.
Most smart TRV systems pay for themselves within 2-3 years through energy savings alone.
Payback Period by Home Size
Larger homes see faster payback because they have higher heating bills to reduce. Smaller apartments take longer to break even but still save money long-term.
Maintenance and Long-Term Care
Smart TRVs need minimal maintenance but a few simple steps keep them working perfectly for years.
Battery Replacement Schedule
Most smart TRVs run 1-2 years on AA batteries. Your app will warn you when batteries get low.
Replace all batteries at the same time to avoid multiple service calls. Keep spare batteries handy during winter months.
Annual System Check
Test each TRV at the start of heating season. Make sure motorized heads move freely and respond to app commands.
Clean dust from TRV sensors with a soft cloth. Dust buildup can affect temperature readings over time.
Conclusion
Smart TRVs transform your heating from a one-size-fits-all system into precise room-by-room comfort control. You get the exact temperature you want in every space while cutting energy bills significantly.
Installation takes just minutes per radiator with no plumbing required. Once connected to your phone, you can adjust temperatures from anywhere and create schedules that match your daily routine.
The upfront cost pays for itself through energy savings within 2-3 years. After that, you enjoy lower heating bills and better comfort for the life of your system.
Start with one or two TRVs in your most-used rooms. You’ll quickly see the benefits and want to add smart control to every radiator in your home.
Do smart TRVs work with all types of radiators?
Smart TRVs work with most standard radiators that have thermostatic valve connections. They fit 15mm and 8mm valve bodies using included adapters. Old single-pipe steam systems and some electric radiators may not be compatible.
Can I install smart TRVs myself or do I need a professional?
Most smart TRVs install without any plumbing work – you just unscrew the old valve head and attach the smart one. The process takes about 10 minutes per radiator. You only need a professional for valve body replacement or system bleeding.
How long do smart TRV batteries typically last?
Battery life ranges from 1-3 years depending on the model and usage. Zigbee TRVs last longer than WiFi versions. Frequent temperature adjustments drain batteries faster than stable settings. Most apps warn you 2-3 months before batteries need replacement.
Will smart TRVs work during internet outages?
Smart TRVs continue basic temperature control during internet outages using their built-in sensors and last programmed settings. You lose remote app control and advanced features until connectivity returns. Zigbee mesh systems are more resilient than WiFi-only models.
Do smart TRVs interfere with my boiler or heating system?
Smart TRVs work with any wet central heating system by controlling water flow to individual radiators. They don’t interfere with your boiler operation. Some advanced models communicate with compatible smart thermostats for even better efficiency coordination.