
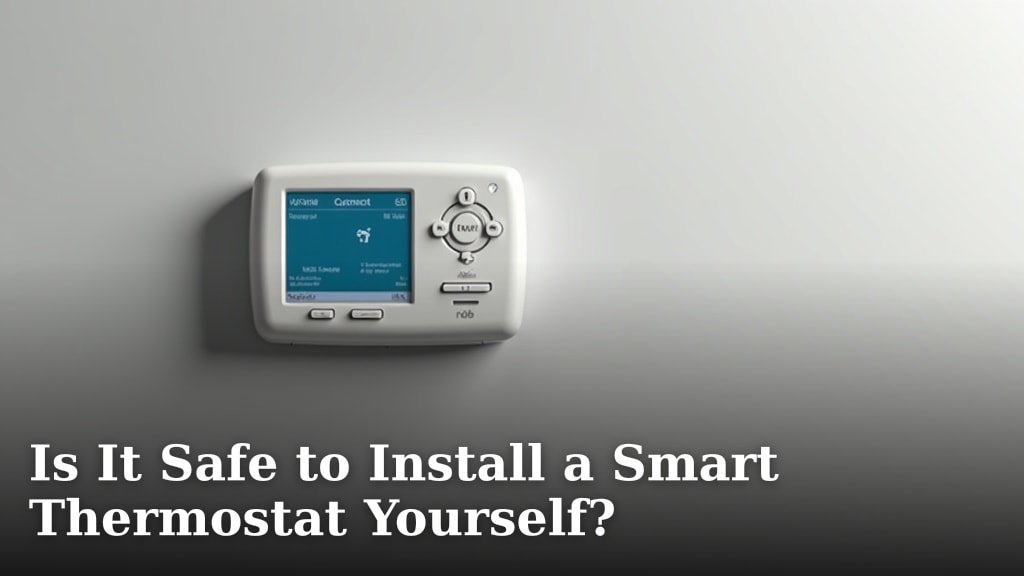
Yes, it is generally safe to install a smart thermostat yourself if you have basic DIY skills. Many smart thermostats are designed for easy homeowner installation. However, there are some important considerations you should know first.
You might be wondering if this project is right for you. We found that most installations take about 30 minutes to an hour. You’ll need to follow the instructions carefully and ensure your system is compatible.
- Most DIY-friendly.
- Check system compatibility.
- Safety precautions are key.
- Requires basic tools.
- Call an expert if unsure.
Let’s walk through everything you need to know before you pick up that screwdriver, so you can decide if a DIY install is in your future.
Is DIY Smart Thermostat Installation Right for You?
Yes, for many homeowners, installing a smart thermostat yourself is a perfectly safe and achievable task. Most models are designed with the DIYer in mind. You just need to follow some basic guidelines and understand your home’s existing setup.
Understanding Your Home’s HVAC System
Before you even think about buying a smart thermostat, you need to get to know your current heating and cooling system. This is a critical first step. You’re essentially matching a new piece of technology to your home’s existing infrastructure.
Check Your Wiring: The C-Wire Conundrum
The “C-wire,” or common wire, is often the biggest hurdle for DIY installers. We found that most smart thermostats need a continuous power supply. This is usually provided by the C-wire. Without it, your smart thermostat might not work correctly, or its battery could drain quickly.
- Many older homes don’t have a C-wire.
- Check your current thermostat for a wire labeled “C.”
- No C-wire? Some smart thermostats come with an adapter kit.
- An alternative is a power extender kit, but this adds complexity.
- When in doubt, consult a professional.
System Compatibility: What Type of HVAC Do You Have?
Different HVAC systems require different wiring configurations. Do you have a conventional furnace and air conditioner? Or a heat pump? Maybe zoned heating? Each setup has its own wiring patterns. We found that most smart thermostats clearly state their compatibility. Take a photo of your current thermostat’s wiring before you disconnect anything.
Here’s a simple breakdown of common systems:
| System Type | Typical Wiring | Smart Thermostat Compatibility |
|---|---|---|
| Conventional (Gas/Oil Furnace + AC) | R, G, W, Y | Generally High |
| Heat Pump (with Aux Heat) | R, G, O/B, Y, W2/AUX | Good, but check specific models |
| Millivolt (e.g., Wall Heaters) | 2 wires (often R, W) | Rarely compatible; often needs special thermostats |
| Line Voltage (e.g., Baseboard Heaters) | Thick wires, usually 120V or 240V | Not compatible with standard smart thermostats |
If you have line voltage or millivolt systems, you might need a specialized smart thermostat. Standard ones won’t work and can even be dangerous to install.
Safety First: Essential Precautions for Installation
Electricity and DIY projects can be a tricky combination. Your safety is paramount. Always approach electrical work with caution and respect. We found that most smart thermostat installation guides start with a stern warning about turning off power.
Turning Off the Power
This is not just a suggestion; it’s a non-negotiable step. Locate your home’s circuit breaker box. Find the breaker that controls your HVAC system, usually labeled “Furnace,” “AC,” or “HVAC.” Flip it to the “off” position. Double-check that the system is truly off by trying to turn on your old thermostat. If it doesn’t light up or engage the system, you’re good to go.
What if I’m Unsure About Wiring?
It’s completely fine to feel a little intimidated by wires. We found that many people pause at this step. If you’re not confident about identifying wires or connecting them correctly, that’s a clear sign to call a professional. There’s no shame in asking for help. It’s much better than risking damage to your HVAC system or, worse, electrical shock.
Tools and Preparation: Getting Ready for Installation
You don’t need a massive toolbox for this project. Most installations require just a few basic items you probably already own. Preparation makes the process much smoother.
Gathering Your Supplies
Before you begin, have everything ready. This prevents frustrating trips back and forth. You’ll likely need:
- A small Phillips head screwdriver.
- A small flathead screwdriver (for prying terminals).
- Your new smart thermostat and its instructions.
- Your phone or camera (for taking pictures of existing wiring).
- Painter’s tape or labels (to mark wires).
- A pencil (for marking mounting holes).
- A drill (if new mounting holes are needed).
- A level (to ensure your thermostat looks good on the wall).
Pre-Installation Checklist
We found that a quick checklist helps ensure you don’t miss any critical steps before you start unscrewing things. Here’s what we recommend:
- Read the entire instruction manual for your specific smart thermostat.
- Confirm your HVAC system type (conventional, heat pump, etc.).
- Verify if you have a C-wire or if an adapter is included/needed.
- Take a clear photo of your old thermostat’s wiring connections.
- Label each wire with painter’s tape and the corresponding terminal letter.
The Installation Process: Step-by-Step Guide
Once you’ve completed your prep work and safety checks, the actual installation often feels straightforward. Each smart thermostat will have its own detailed instructions, but the general flow is quite similar.
Removing Your Old Thermostat
With the power off, carefully remove the cover of your old thermostat. Use your small screwdriver to disconnect each wire from its terminal. Reference the picture you took and the labels you made. Gently pull the wire out. Remove the mounting plate from the wall. You might see a larger hole or some paint discoloration; this is normal.
Mounting the New Smart Thermostat
Position the new smart thermostat’s backplate on the wall. Use a level to ensure it’s straight. Mark the new mounting holes with a pencil. If they don’t align with the old ones, you might need to drill new pilot holes. Secure the backplate to the wall with the provided screws. Some kits include wall anchors for drywall.
Connecting the Wires
This is where your labeled wires come in handy. Match each labeled wire to the corresponding terminal on the new smart thermostat’s backplate. Most smart thermostats have push-in terminals or screw terminals. Push the wire firmly into the terminal until it’s secure, or tighten the screw. Tug lightly on each wire to ensure it’s properly seated.
Testing Your New Smart Thermostat
Once all the wires are connected and the front display unit is snapped onto the backplate, it’s time for the moment of truth. Go back to your circuit breaker and turn the power to your HVAC system back on. Your new smart thermostat should power up. Follow the on-screen prompts for initial setup, which often include connecting to your Wi-Fi and configuring your system type.
Test both your heating and cooling functions. Turn the heat up and listen for the furnace to kick on. Then, turn the AC down and check for cold air. If everything works as expected, congratulations! You’ve successfully installed your smart thermostat.
When to Call a Professional
While many smart thermostat installations are DIY-friendly, there are definitely situations where bringing in an expert is the smartest move. Don’t hesitate to call for help. It could save you time, money, and potential headaches.
Signs You Should Get Professional Help
We found that these red flags often indicate a need for professional assistance:
- You don’t have a C-wire, and the provided adapter kit seems too complicated.
- Your current wiring looks unusual, or you have more wires than your new thermostat has terminals.
- Your home has a millivolt or line voltage system.
- You encounter wires that are thicker than typical thermostat wires (a sign of high voltage).
- After installation, the system doesn’t power on, or it powers on but doesn’t control your HVAC.
- You feel uncomfortable or unsure at any point during the process.
Professional HVAC technicians are experienced with all types of systems and wiring. They can quickly diagnose issues and ensure your smart thermostat is installed safely and correctly. Sometimes, it’s worth the peace of mind to have an expert handle it (Energy Star).
Conclusion
Installing a smart thermostat yourself is a rewarding project for many homeowners. By understanding your HVAC system, prioritizing safety, and following instructions, you can successfully upgrade your home. We’ve seen that careful preparation and knowing when to call a pro are your best allies.
If you’ve assessed your setup and feel ready, gather your tools and dive in. If doubts arise, don’t hesitate to contact a qualified HVAC technician. Your comfort and safety are worth it.
Frequently Asked Questions
Will a smart thermostat save me money?
Yes, many smart thermostats are designed to help you save on energy bills. Features like geofencing, remote control, and optimized scheduling can reduce wasted heating and cooling. We found that potential savings vary based on your habits and climate.
Do all smart thermostats require Wi-Fi?
Most popular smart thermostats do require a Wi-Fi connection to access their “smart” features, like app control and energy reports. Some basic models might function without it for manual control. However, for full functionality, a stable home Wi-Fi network is essential.
Can I use a smart thermostat with an older HVAC system?
It depends on the specific older system. While many smart thermostats are compatible with conventional and heat pump systems, very old or specialized systems like millivolt or line voltage heaters usually require professional assessment or specialized smart devices. Always check the thermostat’s compatibility before purchasing.
What if my smart thermostat isn’t working after installation?
First, double-check that the power to your HVAC system is on at the circuit breaker. Then, review all your wiring connections to ensure they are secure and correctly matched. If issues persist, consult the thermostat’s troubleshooting guide or contact customer support for your specific model. Often, it’s a minor wiring oversight.
How long does a smart thermostat battery last?
If your smart thermostat relies on battery power (often due to no C-wire), the battery life typically ranges from a few months to a couple of years. This depends on usage and the specific model. We found that C-wire powered thermostats eliminate the need for battery replacements entirely.
