
The best room sensor placement to avoid drafts is away from windows, doors, and heating/cooling vents. This ensures your sensor gets an accurate reading of the room’s actual temperature, not just the cold or hot air blowing in. You want to measure the general living space, not the immediate impact zone of a draft. A good spot is often on an interior wall, about five feet off the ground.
Drafts can make your home feel much colder than it is. If your smart thermostat or sensor is too close to a drafty area, it might think the entire room is chilly. This can cause your HVAC system to run more often than needed. We found that strategic placement helps your system maintain a consistent temperature and avoid unnecessary energy waste.
TL;DR:
- Place sensors away from windows and doors.
- Keep sensors clear of HVAC vents.
- Aim for an interior wall location.
- Height should be around five feet.
- This prevents inaccurate temperature readings.
Let’s dive into the specifics of where to put your room sensors for the most comfort and efficiency.
Finding the Ideal Spot for Your Room Sensors
So, you’ve got your smart room sensors ready to go. That’s awesome! Now, let’s talk about where to place them. It’s like setting up a thermometer – you don’t want it right next to the oven, right? The same idea applies here. Your goal is to get an **accurate picture** of your room’s temperature, not just what the draft is doing. We’ve found that strategic placement makes a big difference in comfort and energy savings.
Why Drafts Are the Enemy of Accurate Readings
Imagine this: you’re trying to feel cozy, but a sneaky draft is making its way through your living room. Your room sensor, if placed too close, might pick up that chill. It’ll then tell your smart thermostat, “Hey, it’s freezing in here!” Your heating system might kick into overdrive to compensate. This happens even if the rest of the room is perfectly comfortable. We found that drafts can trick your system into **wasting energy**.
The Window Woes
Windows are common culprits for drafts. Even well-sealed ones can let in a little cool air in the winter or warm air in the summer. Placing your sensor right next to a window means it’s going to be constantly bombarded by these temperature fluctuations. This is not what you want for a reliable reading of your overall room temperature.
Doorway Dilemmas
Similar to windows, doors are another major entry point for outside air. Every time the door opens, especially if it’s a frequently used one like your front door, it brings in a blast of whatever the weather is doing outside. A sensor too close to a doorway will get an **unrepresentative reading**.
Steering Clear of Your HVAC System
Your heating and cooling vents are designed to push air into the room. If your sensor is directly in the line of fire, it will read the temperature of that forced air, not the general temperature of the room. This is a **common mistake** that many people make.
The Hot Air or Cold Air Problem
During the heating season, placing a sensor near a heating vent will make it think the room is much warmer than it really is. Conversely, during the cooling season, it will be fooled by the cold air from the AC vent. This leads to your system running inefficiently, trying to **correct a false reading**.
Avoid Direct Airflow
Think of it like trying to measure the temperature of a room with a fan blowing directly on the thermometer. The reading will be skewed. Your room sensor needs to experience the ambient air, not the direct force of your HVAC system. We found that keeping sensors at least a few feet away from vents is essential.
The Sweet Spot: Where to Place Your Sensors
Now that we know where *not* to put them, let’s talk about the ideal locations. The goal is to find a place where the sensor can get a **true sense of the room’s average temperature**. This will help your smart home system make smarter decisions about heating and cooling.
Interior Walls Are Your Friend
Generally, interior walls are the best bet. They aren’t directly exposed to the outside elements like exterior walls. This means they maintain a more **stable temperature** throughout the day and night. Placing your sensor on an interior wall helps it get a reading that reflects the overall climate of your home.
Consider the Main Living Areas
Think about where you spend most of your time. Placing sensors in primary living areas like the living room, family room, or bedrooms makes the most sense. You want the system to prioritize the comfort of the spaces you actually use. We found that focusing on these areas improves **overall home comfort**.
Avoid High-Traffic Areas for Sensors
While interior walls are great, try to avoid placing sensors directly in hallways where people are constantly walking by. These areas can experience quick temperature shifts. The goal is a **stable, representative reading**.
The Ideal Height for Optimal Readings
Height matters when it comes to sensor placement. Most experts and manufacturers recommend placing sensors about **five feet off the ground**. Why this height?
Capturing the Breathing Zone
This height is often referred to as the “breathing zone.” It’s where most people are when they’re standing or sitting. Heat rises, and colder air tends to settle lower. Placing your sensor at this mid-level height gives you a reading that **closely matches your perceived temperature**.
Avoiding Floor Drafts and Ceiling Heat
Placing a sensor too low might expose it to floor drafts or cold air pooling near the ground. Too high, and it could be influenced by heat rising towards the ceiling. The five-foot mark helps strike a balance, providing a **more accurate average** of the room’s temperature.
A Quick Checklist for Sensor Placement Success
Here’s a handy checklist to help you find the perfect spot for your room sensors. Follow these steps, and you’ll be on your way to a more comfortable and energy-efficient home!
- Scan the room for windows, doors, and vents.
- Choose an interior wall, away from these drafty spots.
- Imagine the “breathing zone” – aim for about five feet high.
- Ensure the sensor isn’t blocked by furniture or curtains.
- Test the reading after a few hours to ensure accuracy.
- Consider placing sensors in your main living areas first. Consider placing sensors in your main living areas for the most relevant temperature data.
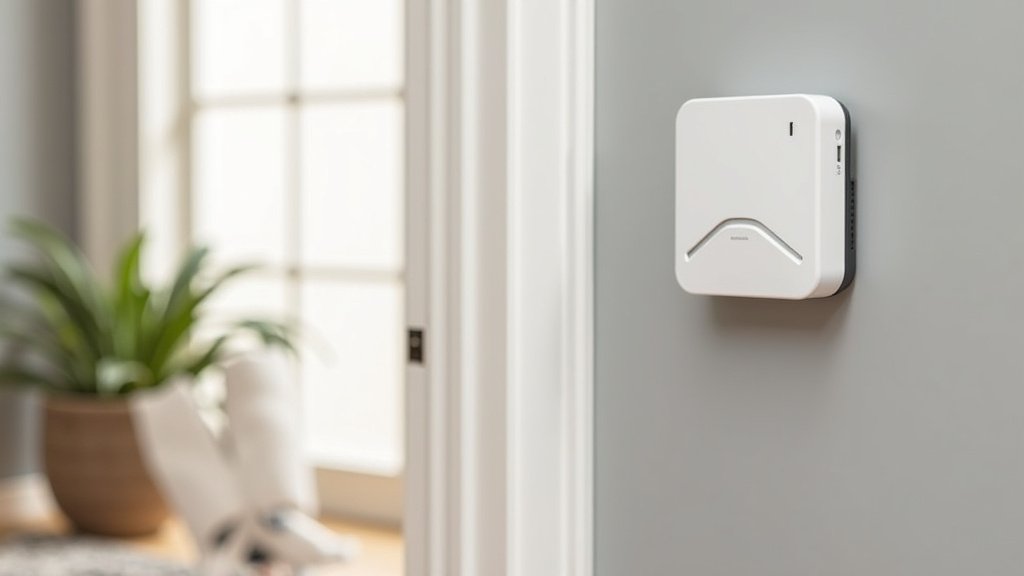
Conclusion
You’ve now learned how crucial smart room sensor placement is for accurate temperature readings. By avoiding windows, doors, and direct HVAC airflow, you help your smart home system work efficiently. Strategic placement on an interior wall, about five feet off the ground, ensures you’re measuring the room’s actual ambient temperature. This simple adjustment prevents your system from overworking, saving energy and keeping your home truly comfortable. Take a moment to review your current sensor locations and make these smart adjustments for better home climate control.
Frequently Asked Questions
Can I place my room sensor on an exterior wall?
It’s generally best to avoid exterior walls. These walls are more exposed to outdoor temperature changes. Your sensor might pick up fluctuations that don’t reflect the actual temperature in your main living space. An interior wall offers a more stable reading.
What if my room has no interior walls near the main living area?
If interior walls aren’t an option, try to find the spot on an exterior wall that’s furthest from windows and doors. You’ll still want to keep it away from any vents. Prioritize avoiding direct drafts and airflow as much as possible for the best results.
Is it okay if furniture is blocking the sensor slightly?
No, you should ensure your sensor is not blocked. Furniture, curtains, or even large plants can obstruct airflow around the sensor. This blockage can lead to inaccurate temperature readings. Your sensor needs clear access to the room’s ambient air.
How long does it take for a room sensor to give an accurate reading?
After placing your sensor, it typically takes about 30 minutes to an hour to acclimate to the room’s temperature. You might want to check the reading after a few hours to ensure it seems consistent with how the room feels. This allows the sensor to fully adjust.
Do I need a sensor in every room?
Not necessarily. Many smart home systems allow you to prioritize certain rooms or zones. Focus on placing sensors in your main living areas where you spend the most time. This helps ensure your most used spaces are comfortable and energy is used efficiently.
