
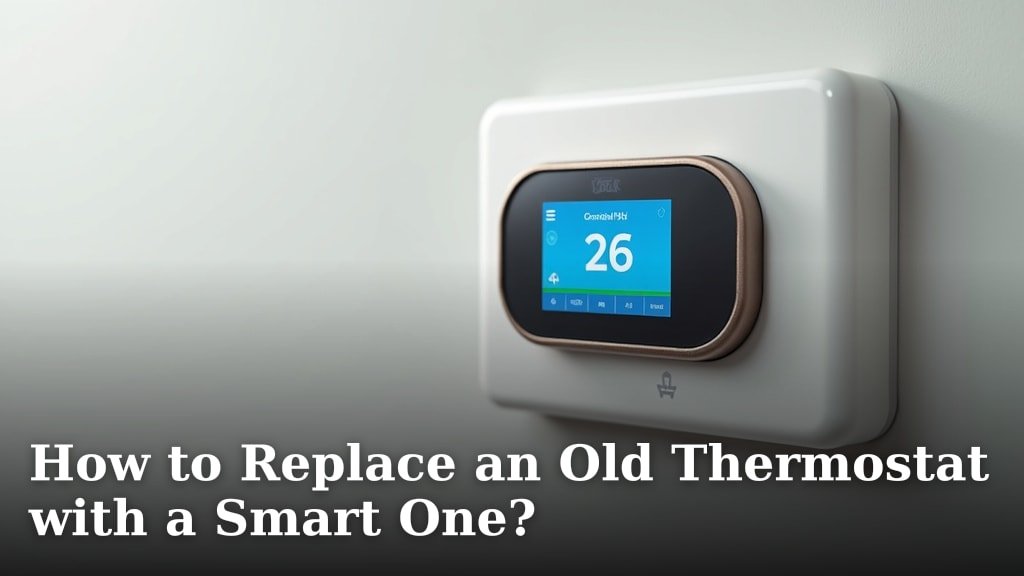
To replace an old thermostat with a smart one, you will need to first check your system compatibility, turn off the power, remove the old unit, and then carefully wire and mount your new smart thermostat.
Thinking about upgrading your home’s brain for climate control? We understand. Many homeowners are looking to improve efficiency and convenience. You might want to save on energy bills or simply enjoy the ease of controlling your home’s temperature from anywhere. We found that swapping out an old thermostat can be a straightforward DIY project with the right guidance.
- Check your HVAC system’s compatibility.
- Safety first: always turn off power.
- Disconnect and remove your old thermostat.
- Carefully connect the new smart thermostat wires.
- Mount the new unit and restore power.
Ready to get started? Let’s walk through the steps together to help you install your new smart thermostat like a pro.
Getting Started with Your Smart Thermostat Upgrade
Are you ready to give your home’s old climate control a well-deserved upgrade? We understand. Swapping out your old thermostat for a new smart one can seem a little daunting. But don’t worry, we’re here to guide you through every step of the process. It’s often easier than you think!
Is Your HVAC System P Smart-Compatible?
Before you even think about buying a smart thermostat, you need to confirm it will work with your current heating and cooling system. This is perhaps the most critical first step. Not all smart thermostats are a universal fit.
Checking Your Current Thermostat Wiring
First, take a look at your existing thermostat. We found that the number and type of wires connected to it determine compatibility. Gently pull the current thermostat off its base plate on the wall. You will see several wires connected to terminals, usually identified by letters. Snap a picture of these wires with your phone!
- Most smart thermostats need a C-wire (common wire). This wire provides continuous 24V power to the smart device. Without it, many smart thermostats won’t function, as they can’t rely on battery power alone for Wi-Fi and advanced features.
- If you don’t have a C-wire, don’t despair! Some smart thermostats offer solutions like an “add-a-wire” kit or are designed to operate without one, using alternative power methods. We recommend checking the specific requirements of the smart thermostat you’re considering.
- Look for terminals like R (red, for power), G (green, for fan), Y (yellow, for cooling), W (white, for heating), and C (blue or black, for common). The more wires you have, the more advanced your existing system likely is, which generally means better compatibility with smart devices.
Understanding Your HVAC System Type
Is your system a central air conditioner with a furnace? Or do you have a heat pump? The type of HVAC system affects thermostat choice. We found that most smart thermostats clearly state which systems they support – gas, electric, heat pump, boiler, etc. Always match your system to the thermostat’s specifications (Energy Star).
| Wire Label | Common Function | Needed by Smart Thermostats? |
|---|---|---|
| R (Rc/Rh) | Power (heating & cooling) | Yes, always |
| G | Fan control | Yes, typically |
| Y (Y1/Y2) | Cooling (compressor) | Yes, for A/C | W (W1/W2) | Heating (furnace/boiler) | Yes, for heat |
| C | Common wire (continuous power) | Often, for advanced features |
Gathering Your Tools and Prioritizing Safety
Once you’ve picked the perfect smart thermostat, it’s time to prepare for the installation. Don’t rush this part. Having the right tools makes the job much smoother. More importantly, safety should always be your top concern.
Essential Tools for Installation
You probably have most of these items lying around your house already. We’ve compiled a short list to keep you prepared:
- Screwdriver set: Both Phillips and flat-head. You’ll need these to remove your old thermostat and possibly to secure the new one’s base plate.
- Needle-nose pliers: Handy for gently manipulating wires if they are stiff or too short.
- Wire strippers: Only if your existing wires are frayed or too short and need fresh ends.
- Drill (optional): You might need this if the new mounting plate doesn’t line up with existing holes and new pilot holes are required.
- Pencil: To mark new drill holes if necessary.
- Level: To ensure your new thermostat is mounted straight on the wall.
- Flashlight or headlamp: Essential, especially if your thermostat is in a dimly lit area like a hallway.
Safely Disconnecting Power
This step is non-negotiable. You must turn off the power to your HVAC system before touching any wires. Working with live electrical wires can be extremely dangerous. We can’t stress this enough.
- Locate your home’s electrical panel. This is usually in your basement, garage, or a utility closet.
- Find the circuit breaker labeled for your furnace, air handler, or HVAC system. It might also be labeled “Thermostat.” Turn this breaker to the “OFF” position. This isn’t just about avoiding a shock; it also protects your HVAC system’s delicate control board from short circuits.
- As a secondary measure, if there’s a power switch directly on your furnace or air handler, turn that off too. We often find that this second switch provides an extra layer of protection.
- To confirm the power is off, try turning your old thermostat on and changing the temperature. If the system doesn’t respond, you’re good to go.
Removing Your Old Thermostat
With the power safely off, you can now begin to remove the old unit. Take your time with this part. The goal is to safely disconnect the wires and protect them for the new installation.
Detaching the Faceplate
Most thermostats have two main parts: the faceplate (the part with the screen and buttons) and the backplate (which is screwed to the wall and holds the wires). Usually, you can gently pull the faceplate straight off, or it might have small clips or screws to release it. We advise you to be gentle; you don’t want to damage the exposed wires.
Photographing and Labeling Wires
Remember that picture you took earlier? It’s time to look at it again. Even better, take another clear, close-up photo of how the wires are connected to the terminals on your old backplate. This serves as a vital reference. We found that labeling each wire individually is also good practice, just in case a wire slips from its terminal before you can install the new unit. Most smart thermostats come with small stickers to label your wires; use them!
- Carefully disconnect each wire from its terminal on the old backplate. Store them somewhere secure so they don’t fall back into the wall.
- Unscrew the old backplate from the wall. This will expose the hole where the wires come through.
Installing Your New Smart Thermostat
You’re almost there! This is where your new, sleek smart thermostat takes its place. Follow the instructions provided with your specific smart thermostat model very closely, as slight variations exist between brands.
Mounting the New Backplate
Take the backplate for your new smart thermostat. Hold it against the wall, aligning it so the wires can pass through. Use a level to make sure it’s perfectly straight before marking the screw holes with your pencil. We recommend trying to use existing screw holes if possible. If not, drill new pilot holes (smaller than the screws) and then secure the backplate firmly to the wall.
Connecting the Wires
This is where your wire labels and photos come in handy. Connect each labeled wire to the corresponding terminal on the new smart thermostat’s backplate. We found that most smart thermostats have push-in terminals or screw terminals – ensure each wire is securely seated and won’t pull out easily. Remember, if you have a C-wire, connect it now. If not, follow your smart thermostat’s instructions for non-C-wire setups.
Attaching the Faceplate and Powering Up
Once all wires are connected, carefully push any excess wire back into the wall cavity. Then, snap the new smart thermostat’s faceplate onto its backplate. It should click securely into place. Finally, return to your electrical panel and flip the circuit breaker back to “ON”. Your new thermostat should power on, and you’ll likely see a welcome screen or setup prompts.
Initial Setup and Testing
Your smart thermostat is now powered on, but it’s not quite ready to intelligently manage your home’s climate. The final steps involve a bit of digital setup and testing.
Configuring Your Smart Thermostat
Most smart thermostats will guide you through an on-screen setup process. This typically involves:
- Connecting it to your home’s Wi-Fi network. Have your Wi-Fi password ready.
- Downloading the companion app to your smartphone or tablet.
- Creating an account and registering your device within the app.
- Inputting details about your HVAC system type (e.g., gas furnace, heat pump, etc.). This ensures the thermostat controls your system correctly.
Testing Heating and Cooling Functions
After the initial configuration, it’s time for a critical test. You want to make sure both your heating and cooling systems respond correctly to the new thermostat. We recommend doing a quick check:
- Set the thermostat to a temperature significantly higher than your current room temperature to test the heating. Listen for your furnace to kick on and feel for warm air.
- Then, set the temperature significantly lower than your current room temperature to test the cooling. Listen for your air conditioner compressor to start and feel for cool air.
- If anything seems wrong – no response, unusual noises, or only one system working – turn off the power immediately and recheck your wiring connections based on your photos and the thermostat’s manual. Don’t hesitate to contact the manufacturer’s support if you’re unsure.
- Confirm HVAC system compatibility and C-wire presence.
- Gather all necessary tools before starting.
- Turn OFF power at the breaker before touching wires.
- Photograph existing wiring for reference.
- Label each wire with corresponding terminal letters.
- Mount the new backplate securely and level.
- Connect wires to the new backplate matching labels.
- Snap on the new faceplate and restore power.
- Complete the in-app setup and Wi-Fi connection.
- Test both heating and cooling functions thoroughly.
Conclusion
You’ve seen how straightforward replacing an old thermostat with a smart one can be when you follow the right steps. From confirming compatibility to safely wiring and testing, you now have the knowledge to tackle this upgrade. We understand it might feel like a big project, but with careful attention to detail and patience, you can enhance your home’s comfort and energy efficiency. We really hope this guide helps you on your journey.
Ready to experience smarter climate control? Take that first step and start checking your HVAC system’s wiring today!
Frequently Asked Questions
How long does it typically take to install a smart thermostat?
For most DIYers, replacing an old thermostat with a smart one usually takes about 30 to 60 minutes. This includes time for safety checks, wiring, and initial setup. Complications like a lack of a C-wire or needing new mounting holes might extend this duration slightly.
Can I install a smart thermostat if I don’t have a C-wire?
Yes, some smart thermostats are designed to work without a C-wire. We found that some models include an “add-a-wire” kit, while others use alternative power methods like rechargeable batteries or “power stealing.” Always check the specific thermostat’s requirements before purchasing.
Will a smart thermostat save me money on my energy bills?
Many users report significant energy savings after installing a smart thermostat. Features like learning schedules, remote control, and occupancy sensors can optimize heating and cooling, reducing wasted energy. Your actual savings will depend on your habits and climate.
Do all smart thermostats require Wi-Fi?
Most advanced smart thermostats rely on a Wi-Fi connection to offer their full range of features, such as remote control via an app, weather-based adjustments, and integration with smart home systems. Basic smart thermostats might operate without Wi-Fi, but they won’t have internet-connected functionalities.
What if my newly installed smart thermostat isn’t working correctly?
If your smart thermostat isn’t functioning, first ensure the power is on and all wires are securely connected to the correct terminals. We often recommend consulting the thermostat’s digital manual for troubleshooting specific error codes. If problems persist, don’t hesitate to contact the manufacturer’s customer support or a licensed HVAC professional for assistance.
