
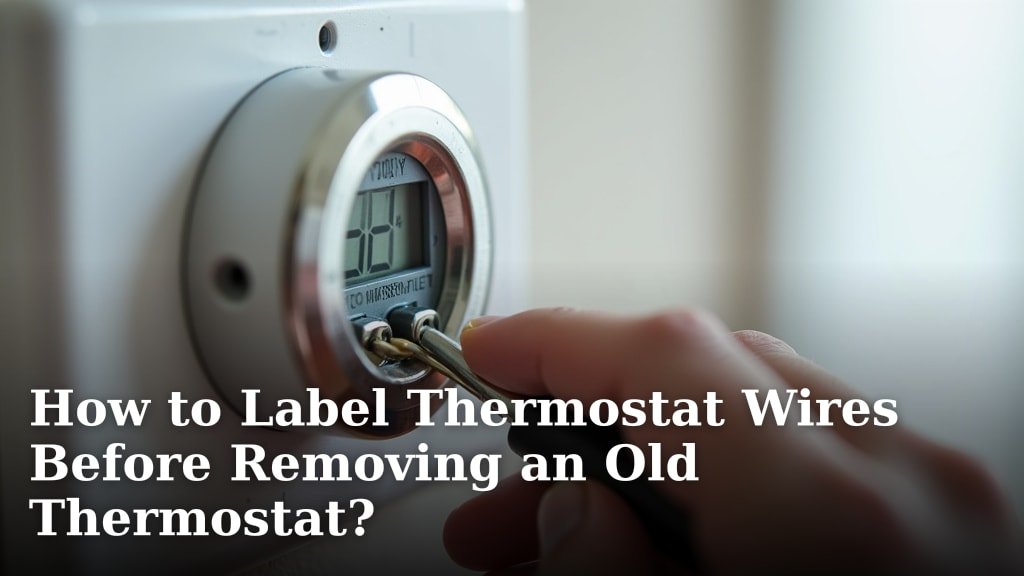
To correctly label thermostat wires before removing an old thermostat, you should always take a photo of the existing wiring. Then, disconnect one wire at a time, labeling each with the corresponding letter printed on the old thermostat’s terminal. This ensures you can reconnect them correctly to your new unit, avoiding damage or a non-functional system.
Forgetting to properly document your wiring is a common mistake that can turn a simple replacement into a headache. We found that most homeowners feel more confident tackling this DIY project when they have a clear, step-by-step guide. Why risk a wiring mix-up when a few minutes of prep can save hours of frustration?
- Take a picture of existing wiring.
- Label each wire as you remove it.
- Match labels to new thermostat terminals.
- Avoid guesswork to prevent damage.
Let’s walk through exactly how to safely and easily label those thermostat wires so your installation goes smoothly.
Prepping Your Thermostat Wires for Removal
Getting ready to swap out your old thermostat? This is where a little preparation goes a long way. Before you even think about disconnecting wires, you want to set yourself up for success. We found that the biggest cause of DIY frustration is jumping the gun (National Electrical Contractors Association).
Gathering Your Essential Tools
You don’t need a whole workshop for this job. Just a few basic items will make everything easier. Think of it like packing for a short trip. What are the absolute must-haves?
What You’ll Need
- A small flat-head screwdriver (often called a “terminal screwdriver”).
- Masking tape or painter’s tape.
- A pen or fine-point marker.
- A digital camera or your smartphone.
- A headlamp or flashlight (especially if your thermostat is in a dimly lit hallway).
- Needle-nose pliers (sometimes helpful for stubborn wires).
Having these items ready prevents those annoying mid-project pauses. Nobody wants to hunt for a flashlight with wires hanging out of a wall!
Safety First: Turning Off the Power
This isn’t just a suggestion; it’s a critical step. Working with electricity can be dangerous. You’re dealing with your home’s heating and cooling system, which means electrical currents are involved. Always, always cut the power.
Locating Your Breaker Box
Your home’s electrical panel, or breaker box, is usually in the basement, garage, or a utility closet. Look for a large metal box with a door. Inside, you’ll find rows of switches.
- Find the breaker labeled “Furnace,” “AC,” or “HVAC.”
- If you’re unsure, you can turn off the main breaker for your entire home. Just know that this will temporarily cut power to everything.
- Flip the correct breaker to the “OFF” position.
Double-check that the power is off. You can do this by trying to turn on your furnace or air conditioner from the old thermostat. If nothing happens, you’re good to go. This simple check protects you (Occupational Safety and Health Administration).
The Step-by-Step Wire Labeling Process
Okay, power’s off, tools are ready. Now for the main event: labeling those wires. This part is surprisingly straightforward, but accuracy is key. Imagine these wires as different colored threads in a complicated tapestry – each one has a specific job.
The Crucial First Step: Take a Picture!
Before you touch a single wire, grab your phone and snap a clear photo of your current thermostat’s wiring. Get a close-up shot that shows:
- All the wires.
- Which terminal each wire is connected to (the letter labels).
- The color of each wire.
This picture is your backup plan. If you get confused or your labels fall off, this image could save your day. Many installers we spoke with emphasized the importance of this simple hack.
Understanding Thermostat Terminal Letters
Each terminal on your old thermostat has a letter. These letters are like a secret code, telling you what each wire does. We found that understanding these common labels helps demystify the process.
Common Terminal Labels and What They Mean
Here’s a quick rundown of the most common letters you’ll see:
| Terminal Letter | Wire Function | Common Wire Color (not always!) |
|---|---|---|
| R or Rc/Rh | 24-volt power (Red wire is common for this). Rc is for cooling, Rh for heating. If you have only one R, it serves both. | Red |
| W or W1 | Heat call (activates heating). | White |
| Y or Y1 | Cool call (activates cooling). | Yellow |
| G | Fan call (activates the fan). | Green |
| C | Common wire (provides continuous 24-volt power to the thermostat, essential for smart thermostats). | Blue or Black |
| O/B | Reversing valve (for heat pump systems, changes heating to cooling and vice-versa). | Orange or Brown |
| AUX/E | Auxiliary or Emergency heat (for heat pump systems). | Brown or Tan |
Remember, wire colors are not universal standards across all systems. Always rely on the terminal letter, not just the wire color. The color is a helpful guide, but the letter is the boss! For a more in-depth look at the functions of each wire, consult our Smart Thermostat Wiring Guide.
The Labeling Technique: One Wire at a Time
This is where your tape and marker come in. The trick is to work slowly and methodically. Resist the urge to yank all the wires out at once. That’s a recipe for confusion.
- Select a wire: Choose one wire connected to a terminal.
- Affix tape: Tear off a small piece of masking tape.
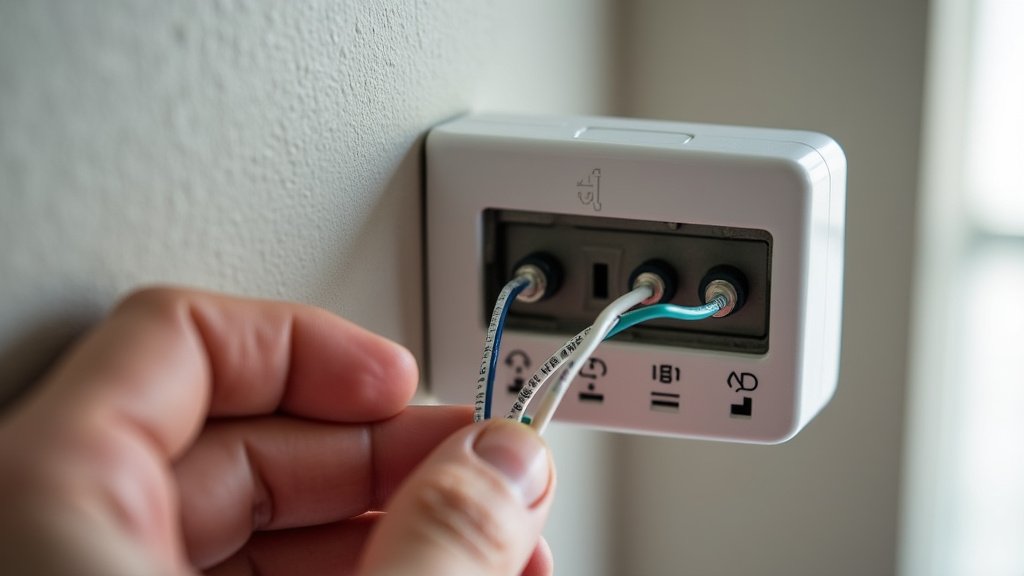
- Label clearly: Wrap the tape around the wire, close to the end, and write the letter of the terminal it was connected to (e.g., “R,” “W,” “Y”). Make sure the writing is legible and won’t rub off easily.
- Disconnect the wire: Use your small screwdriver to loosen the terminal screw. Gently pull the wire straight out.
- Repeat for each wire: Continue this process for every single wire connected to your old thermostat.
What if a wire is really stuck? Sometimes a gentle twist with needle-nose pliers can help, but avoid pulling too hard. You don’t want to damage the wire itself.
Handling Unused Wires
It’s possible you’ll find wires tucked into the wall that aren’t connected to anything. Or, your old thermostat might not use all the available wires from your system. Don’t ignore these.
- Label them “UNUSED” or “NOT CONNECTED.” This tells you they were present but not active.
- Wrap the ends with electrical tape. This is a safety precaution to prevent them from accidentally touching other wires or the thermostat’s internal components if power is ever restored.
We’ve heard stories of homeowners ignoring these, only to find their new thermostat didn’t work because an uninsulated wire shorted something out. Better safe than sorry!
Final Checks Before Removal
Before you completely detach the old thermostat from the wall, do a final review. This is your last chance to confirm everything is in order.
Your Wire Labeling Checklist
Just like a pilot’s pre-flight check, quickly go through this list:
- Is the power to your HVAC system definitely off?
- Do you have a clear photo of the original wiring setup?
- Has every single connected wire been labeled with its corresponding terminal letter?
- Are any unused wires labeled and safely insulated?
- Are your labels secure and easy to read?
If you can answer “yes” to all these questions, you’re in excellent shape! You’ve successfully prepared your thermostat wires for removal. You’ve minimized the chances of making a mistake, and you’re ready for a smooth installation of your new thermostat. You’ve got this!
Conclusion
You’ve now got all the knowledge to confidently label your thermostat wires. Remember, a little time spent on preparation saves a lot of hassle later. Taking that initial photo, carefully labeling each wire with its terminal letter, and double-checking your work are small steps that make a huge difference.
We found that homeowners who follow these steps experience far less stress during thermostat replacement. You’re ready to remove your old thermostat with confidence, knowing your new one will be connected correctly. Now, proceed with removing your old thermostat, and get ready for your new unit!
Frequently Asked Questions
What if my old thermostat has no letter labels?
This is uncommon, but it can happen, especially with very old units. In this situation, rely heavily on your clear photo of the original wiring. If possible, consult the old thermostat’s manual or look up its model number online for a wiring diagram. If all else fails, a professional HVAC technician can help identify the wires.
Can I just snip the wires and re-strip them later?
We strongly advise against snipping wires without labeling first. While you might intend to label them afterward, it’s very easy to get confused about which wire came from which terminal. Labeling each wire as you disconnect it is the safest and most reliable method to ensure correct reconnection.
What if my labels fall off before I install the new thermostat?
This is why taking a clear, close-up photo of your original wiring is your best backup! If a label comes off, you can refer to that picture to see which color wire was connected to which terminal. Securely attaching tape labels and writing clearly helps prevent this, but the photo is your ultimate safeguard.
Do all thermostat wires have standard colors?
While there are common color associations (like red for R, white for W), wire colors are not universally standardized across all HVAC systems. Always prioritize the terminal letter printed on the thermostat over the wire color itself. The letter tells you the wire’s function, which is what truly matters.
What should I do if I find more wires than terminals on my new thermostat?
If your new thermostat has fewer terminals than wires you’ve labeled, it often means your new thermostat doesn’t support a specific feature (like multi-stage heating/cooling or auxiliary heat). Always check your new thermostat’s manual for specific wiring diagrams. Any unused wires should be capped off with electrical tape for safety.
