
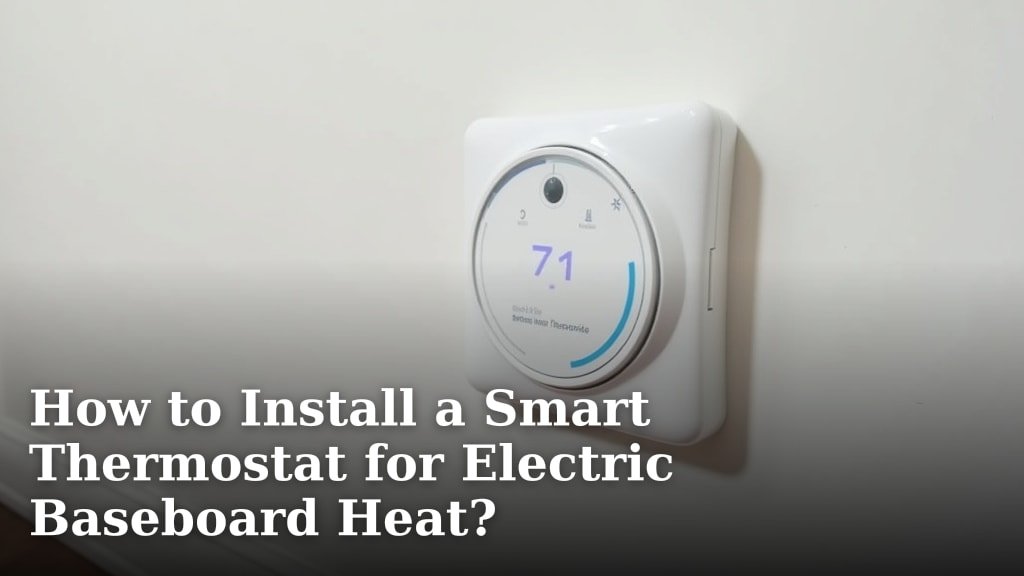
You absolutely can install a smart thermostat for electric baseboard heat, but it requires a specialized line-voltage smart thermostat. Standard low-voltage smart thermostats won’t work with your high-voltage baseboard heating system. You need to ensure the thermostat you choose is specifically designed for line-voltage applications, often operating at 120V or 240V.
Upgrading to a smart thermostat for your electric baseboard heaters can bring some real benefits to your home. You can enjoy better control over your heating, potentially leading to lower energy bills and a more comfortable living space. Just be sure to pick the right type of thermostat for your setup.
- You need a line-voltage smart thermostat for electric baseboard heat.
- Standard low-voltage thermostats are not compatible.
- The right thermostat can save energy and improve comfort.
- Professional installation might be best for safety.
Ready to upgrade your home’s heating? We’ll walk you through everything you need to know about how to install a smart thermostat for electric baseboard heat, step by step.
Upgrading Your Electric Baseboard Heating with a Smart Thermostat
You’re here because you want to bring your electric baseboard heating into the 21st century. It’s a smart move! A specialized line-voltage smart thermostat is your ticket to better control and comfort. This guide will help you understand the process.
Understanding Line-Voltage vs. Low-Voltage Thermostats
Before you even think about installation, it’s vital to grasp this difference. It’s the most common mistake people make. Your electric baseboard heaters use high-voltage power directly from your home’s electrical panel.
What is Line-Voltage?
Think of line-voltage as the main power lines coming into your house. It’s the full strength. For most electric baseboard heaters, this means 120 volts or 240 volts. These higher voltages deliver a lot of power to quickly heat a room. A line-voltage thermostat is built to handle this power. It acts like a robust switch, turning the full power to your heater on or off.
What is Low-Voltage?
Most common smart thermostats, like those for central air conditioning or furnaces, are low-voltage devices. They typically operate at 24 volts. They don’t directly control the main power to the heating system. Instead, they send a low-voltage signal to a control board, which then activates the heater. Trying to connect a low-voltage thermostat to a high-voltage baseboard heater would be a dangerous mismatch. It simply won’t work and could cause damage or injury.
Choosing the Right Line-Voltage Smart Thermostat
This is where your journey truly begins. Picking the right thermostat is crucial. Not all smart thermostats are created equal, especially for baseboard heat.
When searching, look specifically for “line-voltage smart thermostat,” “electric baseboard thermostat,” or “240V/120V smart thermostat.” Many popular smart thermostat brands now offer models designed for this purpose. We found that brands like Mysa, Stelpro, and Sinope are well-regarded in this niche.
Key Features to Look For
What should you consider beyond just voltage compatibility? Here’s a quick rundown:
- Compatibility: Double-check the voltage and wattage limits. Does it match your baseboard heaters? Your heater’s wattage is usually listed on a label.
- Connectivity: Most smart thermostats connect via Wi-Fi. This lets you control them from your phone.
- Scheduling: Can you create custom heating schedules for different times of the day or week? This is a core benefit of smart thermostats.
- Energy Reporting: Some models can show you how much energy your heaters are using. This helps you track and save.
- Geofencing: Does it know when you leave or arrive home and adjust the temperature accordingly? This is super convenient.
- App Control: Is the mobile app user-friendly and reliable? Read some reviews!
- Voice Assistant Integration: Do you want to control it with Alexa or Google Assistant?
Safety First: Essential Preparations Before Installation
Working with electricity can be risky. Your safety is the top priority. We cannot stress this enough: if you’re not comfortable with electrical work, please hire a qualified electrician. It’s always better to be safe than sorry.
Gather Your Tools
You’ll need a few basic tools to get started. Here’s a common list:
- Screwdriver (Phillips and flathead)
- Wire strippers
- Voltage tester (non-contact is easiest to use)
- Electrical tape
- Pliers
- Your new line-voltage smart thermostat and its instructions
- Pencil and paper (for labeling wires)
Locate Your Breaker Box
This is critical. You must turn off the power to your existing thermostat and baseboard heater before you do anything else. Find your home’s main electrical panel. Identify the breaker that controls the circuit for your baseboard heater. It might be labeled, or you might need to test a few. We found that labeling your breakers clearly can save a lot of headaches in the future (Consumer Reports).
Confirm Power is Off
Use your non-contact voltage tester. Touch it to the wires of your old thermostat. If it lights up or beeps, the power is still on. Go back to the breaker box and try another breaker. Do not proceed until you confirm there is no power at the thermostat wires. You don’t want a shock!
The Installation Process: Step-by-Step Guide
Once you’ve done your prep work, the actual installation can begin. Take your time, read your thermostat’s specific instructions, and follow along.
1. Remove the Old Thermostat
Carefully take off the cover of your old thermostat. You’ll see wires connected to terminals. Pay close attention to how they are connected. It’s a great idea to take a photo with your phone before you disconnect anything. This photo can be a lifesaver if you get confused later.
Then, disconnect the wires. You might need a small screwdriver to loosen the terminal screws. Once disconnected, pull the old thermostat off the wall.
2. Label the Wires
This step is often overlooked but incredibly important for line-voltage systems. Your old thermostat likely has two or four wires coming out of the wall. If there are two wires, they are usually the power supply to the heater. If there are four wires, two are the incoming power, and two go out to the heater. Your new smart thermostat will likely have similar wiring. Use electrical tape and a marker to label each wire clearly according to your old thermostat’s connections or your new thermostat’s instructions. For example, “Line 1,” “Load 1,” etc. This ensures you reconnect them correctly.
3. Mount the New Thermostat Base
Your new smart thermostat will come with a mounting plate or base. Feed the wires through the opening in the base. Then, use screws to secure the base to the wall. Make sure it’s level – a small spirit level can help, or your phone’s level app. Don’t overtighten the screws.
4. Connect the Wires
Now, connect the labeled wires from your wall to the corresponding terminals on your new smart thermostat’s base. Most line-voltage smart thermostats use a “pigtail” connection where you use wire nuts to connect the wires. Twist the wires together with pliers, then secure them with the wire nut. Make sure the connections are tight and secure. No loose wires!
Refer to your new thermostat’s wiring diagram. It will show you exactly which wire goes where. Common configurations are:
| Wire From Wall (Example) | New Thermostat Terminal (Example) | Description |
|---|---|---|
| Black (Line/L1) | Line 1 | Incoming power from breaker (usually black) |
| White (Load/T1) | Load 1 | Power going to heater (often white/black depending on system) |
| Black (Line/L2) | Line 2 | Second incoming power for 240V systems |
| White (Load/T2) | Load 2 | Second power going to heater for 240V systems |
Remember, colors can vary, so always rely on the labels you made and your thermostat’s instructions.
5. Attach the Thermostat Cover
Once the wires are connected and tucked neatly into the wall box, snap the thermostat’s main body or cover onto the mounted base. It should click securely into place.
Power Up and Configuration
You’re almost there! Now it’s time to bring your new smart thermostat to life.
Restore Power
Go back to your electrical panel and flip the breaker back on for the baseboard heater. Your new smart thermostat should power on. It might display a welcome message or ask you to configure it.
Initial Setup and Wi-Fi Connection
Follow the on-screen prompts or the instructions in your thermostat’s manual. You’ll typically need to:
- Select your language.
- Connect it to your home’s Wi-Fi network. This usually involves downloading the manufacturer’s app on your smartphone and following the in-app instructions.
- Give your thermostat a name (e.g., “Living Room Baseboard”).
- Set your desired temperature.
Make sure to test it! Turn the heat up and down a few degrees. Does your baseboard heater respond? You should hear it click on or off, and feel the heat change.
Enjoying Your Smart Baseboard Heat
Congratulations! You’ve successfully installed a smart thermostat for your electric baseboard heat. Now you can start enjoying the benefits. Adjust your heating schedules, monitor energy usage, and control your comfort from anywhere. This little upgrade can make a big difference in your home’s efficiency and your daily routine.
A smart thermostat can help you avoid heating an empty room (Department of Energy). It’s all about putting control right into your hands.
Troubleshooting Common Issues
Sometimes, things don’t go perfectly the first time. Don’t worry, here are some quick tips if you hit a snag.
- No Power to Thermostat: Double-check the breaker. Is it fully “on”? Test the wires again with your voltage tester.
- Heater Not Responding: Recheck all wire connections. Are they tight? Did you connect the correct wires to the correct terminals? Your thermostat manual might have a troubleshooting section.
- Wi-Fi Connectivity Issues: Is your Wi-Fi signal strong enough where the thermostat is located? Try restarting your router.
- Thermostat Error Codes: Consult your thermostat’s manual. Error codes usually point to specific problems.
If you’ve tried these steps and are still having trouble, it might be time to call a professional electrician. They can diagnose and fix electrical issues safely.
Conclusion
You’ve seen that upgrading to a smart thermostat for your electric baseboard heat is a totally achievable project. By choosing the right line-voltage model and prioritizing safety, you can gain incredible control over your home’s comfort and energy use. This isn’t just about convenience; it’s about making your home smarter and more efficient. Take your time, follow the steps, and don’t hesitate to call a professional if you’re ever unsure. You’re ready to enjoy a more comfortable home and potentially lower those energy bills.
Frequently Asked Questions
Can I use a smart thermostat for multiple baseboard heaters in different rooms?
Yes, you can. For optimal control and energy savings, we found it’s best to install a separate line-voltage smart thermostat for each zone or room with baseboard heaters. This allows you to set individual schedules and temperatures for each area of your home.
Will a smart thermostat really save me money on my electric bill?
Many users report significant savings. Smart thermostats help you save by letting you program schedules, use geofencing, and monitor energy usage. This prevents you from heating empty rooms or overheating your home, leading to less wasted energy.
What if my current thermostat has only two wires? Can I still install a smart thermostat?
Absolutely. Most line-voltage smart thermostats are designed to work with either two-wire or four-wire setups. Your new thermostat’s instructions will guide you on how to connect a two-wire system, typically connecting to “Line” and “Load” terminals.
Are smart thermostats for baseboard heat compatible with home automation systems like Apple HomeKit?
Compatibility varies by brand and model. Some popular line-voltage smart thermostats, like those from Mysa or Stelpro, do offer integration with major smart home platforms such as Apple HomeKit, Google Home, and Amazon Alexa. Always check the product specifications before buying.
How long does the installation typically take for a DIY homeowner?
If you’re comfortable with basic electrical work and have all your tools ready, we found that the physical installation can often be completed in 30 minutes to an hour per thermostat. The initial setup and Wi-Fi configuration might add another 15-30 minutes.
