
Clean your smart thermostat sensor by gently wiping it with a soft, dry microfiber cloth every 2-3 months to maintain accurate temperature readings.
Turn off your thermostat’s power first, then use compressed air to blow away dust from vents and sensor areas before wiping down the display and housing.
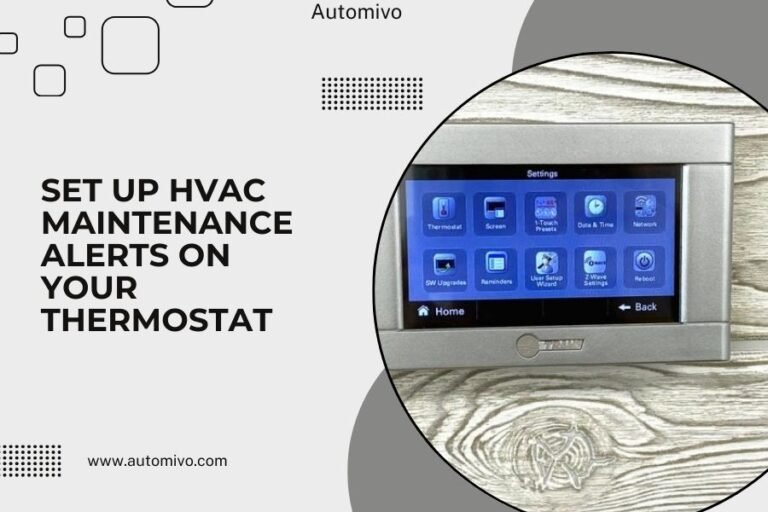
Why Your Smart Thermostat Sensor Needs Regular Cleaning
Your smart thermostat works like the brain of your home’s comfort system. When dust and grime build up on its sensors, it’s like putting dirty glasses on that brain. Suddenly, it can’t see clearly.
Dirty sensors give false temperature readings. This means your heating and cooling system works harder than needed. You end up paying more on energy bills while feeling less comfortable.
Signs Your Sensor Needs Attention
How do you know when cleaning time arrives? Watch for these warning signs:
- Temperature readings seem off by 2-3 degrees
- Your home feels too hot or cold despite correct settings
- Energy bills spike without explanation
- The display looks dim or cloudy
- Dust visible around vents or on the device
What You’ll Need Before Starting
Gather these simple supplies before you begin. Most items you probably already have at home:
- Soft microfiber cloth (never use paper towels)
- Can of compressed air
- Cotton swabs or soft brush
- Isopropyl alcohol (70% or higher)
- Small vacuum with brush attachment
Safety Items You Should Have
Safety comes first when working with electrical devices:
- Flashlight or phone light
- Step stool if needed
- Work gloves (optional but helpful)
Step-by-Step Cleaning Process
I found that following a specific order makes cleaning more effective and safer. Let’s walk through each step together.
Step 1: Power Down Safely
Turn off your thermostat through its menu first. Then locate your home’s electrical panel and flip the breaker for your HVAC system. This double safety step protects both you and your device.
Wait 5 minutes after powering down. This gives any remaining electrical charge time to dissipate.
Step 2: Remove the Thermostat Face
Most smart thermostats have removable front panels. Gently pull the face plate away from the wall mount. Don’t yank or twist – it should come off easily.
Some models have small clips or tabs. Press these gently while pulling. Check your manual if you’re unsure about your specific model.
Handle With Care
Place the face plate on a clean, soft surface. Screen-side up works best to avoid scratches.
Step 3: Clean the Display Screen
Lightly dampen your microfiber cloth with isopropyl alcohol. The cloth should be barely moist, not wet. Too much liquid can damage electronic components.
Wipe the screen in circular motions, starting from the center and working outward. This prevents streaks and removes fingerprints effectively.
Step 4: Address the Temperature Sensor
The temperature sensor is usually a small component near the bottom or side of the device. It might look like a tiny metal cylinder or plastic housing.
Use a dry cotton swab to gently clean around the sensor. Never poke directly into sensor openings. Instead, brush away dust from the surrounding area.
Why Gentle Pressure Matters
Temperature sensors are sensitive instruments. Think of them like the delicate parts of a watch. Too much pressure can throw off their calibration.
Cleaning the Wall Mount and Wiring Area
The wall mount collects dust too. This area often gets forgotten, but it’s important for proper airflow around your thermostat.
Use Compressed Air First
Hold the compressed air can upright and spray in short bursts. Start from the top and work down. This prevents dust from settling back onto cleaned areas.
Keep the can 6 inches away from components. Too close can damage sensitive parts with high pressure.
Wipe Down Mounting Surfaces
Use your microfiber cloth to clean the mounting plate. Pay special attention to connection points where the face plate attaches.
Avoid getting moisture near electrical connections. If you see corrosion or unusual buildup, contact a professional.
Cleaning Different Sensor Types
Smart thermostats use various sensor technologies. Each needs slightly different care.
Infrared Sensors
These sensors detect heat signatures. They look like small black domes or rectangles. Clean them with dry methods only – no liquids.
Use compressed air first, then gently brush with a soft, dry cotton swab.
Humidity Sensors
Many smart thermostats include humidity detection. These sensors often have small grilles or openings.
Vacuum gently with a brush attachment, then use compressed air to remove remaining particles.
External Room Sensors
If your system includes wireless room sensors, clean these monthly. They collect dust faster because they’re often placed in high-traffic areas.
Common Cleaning Mistakes to Avoid
I came across several mistakes that can damage your thermostat or reduce its lifespan. Let’s make sure you avoid them.
Using Wrong Cleaning Products
Never use these products on your thermostat:
- Ammonia-based cleaners
- Bleach or chlorine products
- Abrasive cleaners or scrubbers
- Furniture polish or wax
- Paper towels (too rough)
Skipping the Power-Off Step
Cleaning a powered device risks electrical shock and component damage. Always turn off power first, even if it seems unnecessary.
Using Too Much Moisture
Electronics and water don’t mix well. Even small amounts of liquid can cause corrosion or short circuits over time.
How Often Should You Clean?
Most HVAC experts recommend cleaning smart thermostat sensors every 2-3 months. But your home’s conditions might require different timing.
Factors That Increase Cleaning Frequency
- Pets that shed (monthly cleaning)
- High-dust environments
- Recent construction or renovation
- Homes near busy roads
- Poor air filtration systems
Seasonal Considerations
Spring and fall are ideal deep-cleaning times. These seasons coincide with HVAC maintenance schedules and filter changes.
Summer might need extra attention if you live in dusty climates or run cooling systems heavily.
Troubleshooting After Cleaning
Sometimes issues pop up after cleaning. Here’s how to handle common problems.
Thermostat Won’t Turn On
Check these items in order:
- Face plate fully seated on wall mount
- Circuit breaker still on
- No moisture visible anywhere
- All connection points clean and dry
Temperature Readings Still Seem Off
Give your thermostat 24 hours to recalibrate after cleaning. Sensors sometimes need time to adjust.
If problems continue, your thermostat might need professional calibration or replacement.
When to Call a Professional
Contact an HVAC technician if you notice:
- Visible damage to sensors or wiring
- Corrosion around electrical connections
- Persistent accuracy problems after cleaning
- Strange noises or smells from the device
Maintaining Clean Sensors Long-Term
Regular cleaning is just one part of sensor maintenance. These habits help keep sensors cleaner between deep cleans.
Improve Your Home’s Air Quality
Better air quality means less dust on your thermostat. Consider these upgrades:
- High-quality air filters changed regularly
- Air purifiers in main living areas
- Regular duct cleaning
- Proper ventilation in dusty areas
Monthly Quick Checks
Spend 30 seconds each month looking at your thermostat. Wipe the screen if needed and check for obvious dust buildup.
This quick habit prevents major cleaning sessions and keeps your system running efficiently.
Conclusion
Cleaning your smart thermostat sensor is a simple task that pays big dividends in comfort and energy savings. With just a few basic supplies and 15 minutes of your time every few months, you can keep your system running accurately and efficiently. Remember to always power down first, use gentle cleaning methods, and never rush the process. Your thermostat sensors are the eyes and ears of your comfort system – keeping them clean helps them do their job better. Regular maintenance like this extends your thermostat’s life and keeps your energy bills under control.
How do I know if my smart thermostat sensor is dirty enough to need cleaning?
Look for temperature readings that are consistently 2-3 degrees off from what you feel, visible dust on the device, or unexplained increases in your energy bills. If your home feels uncomfortable despite correct thermostat settings, dirty sensors are often the culprit.
Can I use regular household cleaners on my smart thermostat?
No, stick to isopropyl alcohol and water only. Regular household cleaners contain chemicals that can damage electronic components or leave residues that interfere with sensor accuracy. Ammonia, bleach, and furniture polishes are particularly harmful to thermostat components.
What should I do if my thermostat stops working after cleaning?
First, make sure the face plate is fully seated on the wall mount and that power is restored to your HVAC system. Check for any visible moisture and allow 30 minutes for everything to dry completely. If the device still won’t function, contact your thermostat manufacturer or an HVAC professional.
Is it safe to clean my smart thermostat myself, or should I hire a professional?
Basic cleaning is safe for homeowners when you follow proper safety steps like turning off power first. Only call a professional if you notice damaged wiring, corrosion around connections, or if your thermostat requires removal of internal components for cleaning.
How long should I wait after cleaning before turning my thermostat back on?
Wait at least 10 minutes after cleaning to ensure all moisture has evaporated, especially if you used any liquid cleaning products. If you used only dry cleaning methods like compressed air and dry cloths, 5 minutes is usually sufficient before restoring power to your system.