
To wire a smart thermostat for a heat pump, you will typically need to map your existing wires to the correct terminals on the new smart thermostat. This often involves connecting common wires (C), reversing valve wires (O/B), and heating/cooling wires (Y1, G, W1/Aux) to ensure your heat pump functions correctly with its new brain.
Upgrading to a smart thermostat can make your home much more comfortable and save on energy bills. Many people find the process straightforward with the right guidance, even if you are not a wiring expert. We found that careful labeling of wires is key to a smooth installation.
- Understand your old thermostat’s wiring.
- Turn off power at the breaker.
- Label each wire clearly.
- Connect wires to the new smart thermostat.
- Test the system thoroughly.
Let’s walk through exactly how to wire a smart thermostat for a heat pump, step by step, making sure you feel confident with each connection.
Connecting Your Smart Thermostat to a Heat Pump System
Wiring a new smart thermostat to your heat pump can seem daunting. But with a bit of guidance, you’ll find it’s a manageable project. Your heat pump is an efficient system, and a smart thermostat will help you get the most out of it. We’ll break down each step to ensure a smooth transition.
Gather Your Tools and Understand Your System
Before you touch any wires, it’s wise to be prepared. Having the right tools and a clear understanding of your current setup prevents headaches. Think of it like packing for a trip; you want everything you need before you leave.
Essential Tools You’ll Need
You probably have most of these items lying around your house already. We found that a simple toolkit often contains everything required. Don’t worry about needing specialized equipment.
- Screwdrivers (Phillips and flathead)
- Wire stripper/cutter (optional, but helpful)
- Needle-nose pliers (optional, for bending wires)
- Pen or pencil
- Masking tape or painter’s tape
- Your new smart thermostat kit
- Your smartphone or tablet for the smart thermostat app
Decoding Your Existing Thermostat’s Wiring
This is where you become a detective! Your old thermostat holds clues about your system. Take a photo of the current wiring before you disconnect anything. This picture is your best friend if you get lost during the process (Consumer Reports).
- Gently pull the old thermostat’s cover off the wall plate.
- You’ll see a series of wires connected to labeled terminals.
- Take a clear, close-up photo of these connections.
- Write down which color wire connects to each terminal label.
Safety First: Turning Off the Power
This step is non-negotiable. Working with electricity is serious business. You wouldn’t swim in a pool without knowing if it has water, right? The same goes for electrical work.
Locate Your Breaker Box
Your home’s electrical panel, or breaker box, is usually in the basement, garage, or a utility closet. Look for a large metal box with many switches. Each switch controls a different circuit in your home.
- Find the breaker that controls your HVAC system. It might be labeled “Furnace,” “AC,” or “HVAC.”
- Flip the switch to the “OFF” position.
- To be extra safe, consider turning off the main power switch too, if you’re unsure.
- Double-check that the power is off by trying to turn on your old thermostat or furnace. Nothing should happen.
Disconnecting and Labeling Your Wires
Now that the power is off, you can safely remove your old thermostat. This is where your labeling skills come in handy. Proper labeling prevents confusion later on.
Carefully Remove Wires from Your Old Thermostat
Most thermostats have small screws that hold the wires in place. Use your screwdriver to loosen them. Pull each wire gently. Be careful not to let them fall back into the wall!
- As you remove each wire, immediately label it with masking tape.
- Write the terminal letter (e.g., R, C, Y, G, O/B, W/Aux) on the tape.
- We found that using a permanent marker helps the labels stay clear.
- Once all wires are labeled and disconnected, you can unscrew the old thermostat’s wall plate.
Understanding Heat Pump Wiring for Smart Thermostats
Heat pumps use slightly different wiring conventions than traditional furnaces and AC units. Your smart thermostat needs to know it’s controlling a heat pump. This is especially true for the reversing valve wire.
Common Heat Pump Wire Terminals
Most heat pump systems will have several key wires. Let’s look at what each one typically does. Keep in mind that some systems might have more or fewer wires.
| Terminal Label | Wire Function | Typical Color |
|---|---|---|
| R (Rh, Rc) | 24V Power (Heating & Cooling) | Red |
| C | Common Wire (Continuous 24V power) | Blue, Black |
| Y (Y1) | Compressor (Cooling & Heating) | Yellow |
| G | Fan | Green |
| O/B | Reversing Valve (Heat/Cool changeover) | Orange, Brown |
| W (W1, Aux, E) | Auxiliary/Emergency Heat | White |
The All-Important C-Wire (Common Wire)
Many smart thermostats require a “C-wire” to function properly. The C-wire provides continuous 24V power, which smart thermostats need for Wi-Fi and advanced features. Without it, your smart thermostat might “borrow” power from other wires, leading to issues (Energy Star).
- If your old thermostat had a C-wire, you’re in luck! Simply connect it to the C terminal on your new smart thermostat.
- What if you don’t have a C-wire? Don’t panic. Many smart thermostat kits include an adapter or power extender kit.
- Alternatively, you might need to run a new C-wire from your furnace. This might involve a little more work, or you might prefer to call an HVAC professional for this specific task.
The Reversing Valve (O/B) Wire
This wire is unique to heat pumps. It tells your heat pump whether to operate in heating or cooling mode. The “O” terminal is typically for Goodman, Lennox, Rheem, and Carrier systems (energizing in cooling). The “B” terminal is often for Trane and American Standard systems (energizing in heating).
- Your new smart thermostat will have an O/B terminal.
- Connect the wire from your old O or B terminal to the O/B terminal on the new thermostat.
- During setup, the smart thermostat will ask you to specify if your reversing valve is energized for cooling (O) or heating (B). Most heat pumps energize in cooling. Refer to your heat pump’s manual if you’re unsure.
Installing Your New Smart Thermostat
With your wires labeled and understood, it’s time to mount the new thermostat’s base plate and connect the wires. Take your time and follow the specific instructions provided with your smart thermostat model.
Mounting the Base Plate
Your new smart thermostat will come with a mounting plate. This plate screws directly into the wall.
- Feed the labeled wires through the opening in the new base plate.
- Align the base plate and screw it firmly to the wall. Use the provided screws and anchors if needed.
- Ensure the plate is level for a neat appearance.
Connecting the Wires to the New Terminals
This is where your careful labeling pays off! Match each labeled wire to the corresponding terminal on your new smart thermostat’s base plate.
- Insert each wire into its designated terminal.
- Some thermostats use push-in terminals, while others use screws.
- Make sure each wire is seated firmly and securely. A loose connection can cause problems.
- Trim any excess insulation so only the copper wire is making contact.
Final Steps: Power Up and Test
You’re almost there! Once the wiring is complete, it’s time to restore power and configure your smart thermostat. This is often the most exciting part, as you get to see your new system come to life!
Restore Power and Configure Your Thermostat
Go back to your breaker box and flip the HVAC breaker switch back to “ON.” Your smart thermostat should power up. It will likely walk you through an initial setup process.
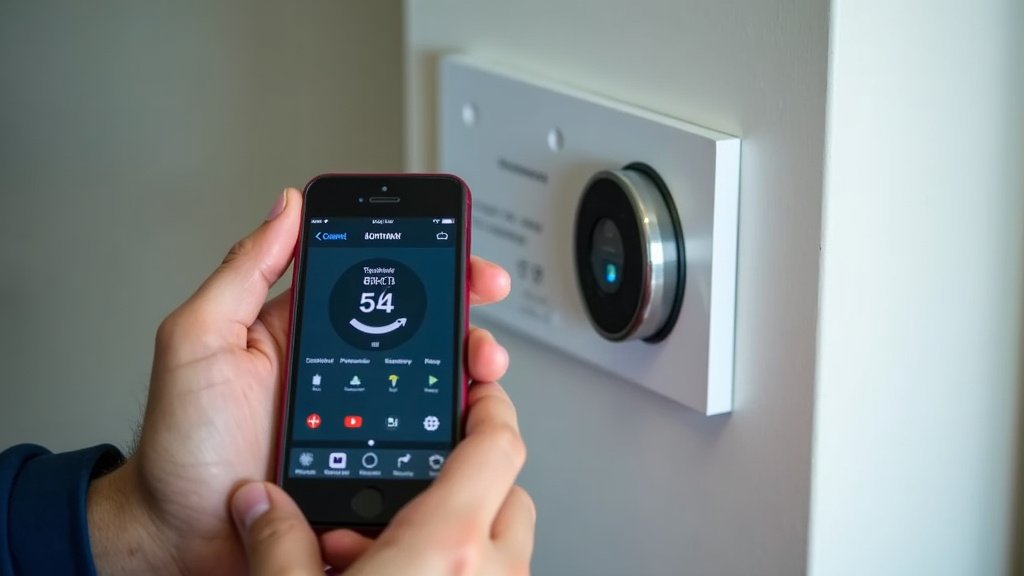
- Follow the on-screen prompts or app instructions to connect to your home Wi-Fi.
- Configure settings like your home type (single-family, apartment), HVAC system type (heat pump), and reversing valve setting (O or B).
- Set your desired temperature preferences and schedule.
Test Your Heat Pump System Thoroughly
Testing is crucial to ensure everything is working correctly. Don’t skip this step! It’s like checking all your bags before you leave for a trip.
- Test cooling: Set the thermostat to cool and lower the temperature significantly. The outdoor unit should come on, and cold air should blow from your vents.
- Test heating: Set the thermostat to heat and raise the temperature significantly. The outdoor unit should run, and warm air (not hot, as heat pumps produce milder heat) should come from your vents.
- Test auxiliary/emergency heat: If your system has it, engage the auxiliary heat (often by raising the temperature even higher in heat mode). You should feel warmer air, and you might hear your furnace (if it’s a dual-fuel system) or electric coils kick in.
- Test fan: Set the fan to “ON” (not auto) to ensure it runs continuously.
Conclusion
You’ve now got the knowledge to confidently wire your smart thermostat to your heat pump. We found that taking your time, labeling everything carefully, and understanding each wire’s function makes all the difference. This project not only upgrades your home comfort but also puts you in control of your energy use.
Enjoy the smart features and energy savings your new thermostat brings. If you ever feel stuck, remember that your smart thermostat’s manufacturer typically offers excellent support. Take pride in knowing you tackled this upgrade yourself!
Frequently Asked Questions
Do all smart thermostats work with heat pumps?
Not all smart thermostats are universally compatible with heat pump systems. It’s essential to check the product specifications for “heat pump compatibility” before you buy. Look for models that specifically mention support for O/B wires and multi-stage heating/cooling.
What if my heat pump system uses an auxiliary or emergency heat?
Most smart thermostats designed for heat pumps will have terminals for auxiliary (W1/Aux) and sometimes emergency (E) heat. You’ll connect your existing auxiliary heat wire to the corresponding terminal on the new thermostat. During the setup process, the thermostat will usually ask you to confirm these settings.
Can I install a smart thermostat for my heat pump if I don’t have a C-wire?
Yes, many smart thermostats offer solutions for homes without a C-wire. Some models come with a power extender kit or adapter that you install at your furnace. Others might be battery-powered or “power-stealing,” though power-stealing models can sometimes cause issues with heat pump systems.
How do I know if my reversing valve needs to be set to O or B?
The reversing valve tells
