
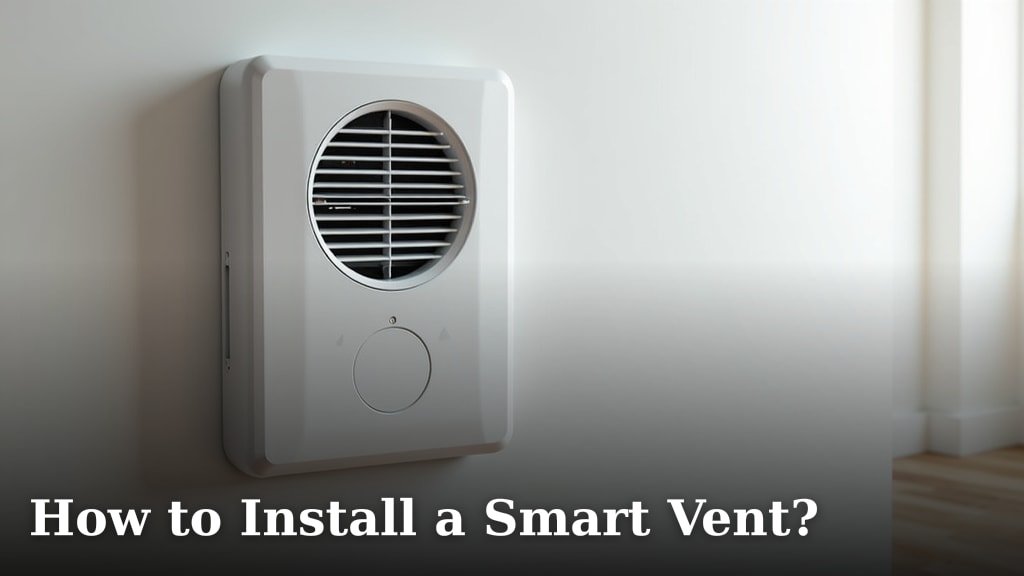
To install a smart vent, you generally need to remove your old vent cover and fit the new smart vent into the opening, then connect it to your smart home system. This process is usually straightforward for homeowners. You can often complete it without special tools.
Upgrading to smart vents can help you manage your home’s temperature more efficiently. We found that many homeowners appreciate the control these devices offer. They allow you to direct airflow to specific rooms, saving energy. This can lead to a more comfortable living space.
- Remove existing vent.
- Insert new smart vent.
- Connect to power (if needed).
- Pair with smart home app.
- Test functionality.
Ready to upgrade your home? Let’s walk through the steps together. We’ll show you exactly how to install a smart vent, making the process simple and clear.
Preparing for Your Smart Vent Installation
Before you jump into installing your new smart vent, a little preparation goes a long way. Think of it like cooking: you gather all your ingredients first, right? This ensures a smooth process.
Gathering Your Tools and Materials
You probably have most of these items lying around your house already. We found that most installations are quite simple, requiring only basic household tools.
- Your new smart vent: Of course! Make sure it matches your duct size.
- Screwdriver: A Phillips head is usually what you’ll need for removing the old vent.
- Measuring tape: Handy for double-checking vent sizes.
- Pencil or marker: For marking screw holes if needed.
- Drill (optional): Sometimes, you might need to pre-drill pilot holes for screws.
- Small vacuum or dust cloth: To clean up any dust or debris in the duct opening.
- Your smartphone or tablet: You’ll use this to set up the smart features later.
Choosing the Right Smart Vent Size
This is a critical step. A smart vent that’s too big or too small won’t work correctly. It’s like trying to wear shoes that don’t fit – uncomfortable and ineffective. We found that mismatching sizes is a common mistake people make.
First, measure your existing vent opening. Don’t measure the old vent cover itself. Instead, measure the actual hole in your wall, floor, or ceiling where the air comes out. You’ll need the length and width.
Smart vents come in standard sizes. The most common sizes are 4×10 inches, 4×12 inches, and 6×10 inches. Always confirm the measurements with the smart vent manufacturer’s specifications.
Understanding Smart Vent Types and Power
Smart vents aren’t all created equal. Some need power, some don’t. Knowing the type you have helps you prepare for the installation. We found that understanding these differences prevents surprises later on.
Battery-Powered vs. Wired Smart Vents
The main distinction is how they get their power. This impacts where you can install them and how much work is involved.
Battery-Powered Vents
These are the easiest to install, hands down. They run on standard batteries, often AA or D-cell. You just pop the batteries in, and you’re good to go. The benefit is no electrical work is needed.
The downside? You’ll need to replace batteries periodically. How often depends on usage and the vent model. Some battery-powered vents can last for months, even a year, on one set of batteries.
Wired Smart Vents
Wired vents connect directly to your home’s electrical system. This provides a constant power supply, so no battery changes are necessary. They are ideal for high-traffic areas or vents you expect to adjust frequently.
However, wired vents are more complex to install. You might need to run new wiring or connect to existing low-voltage wiring. If you’re not comfortable with electrical work, we recommend consulting a professional for these types of installations. Safety first!
Step-by-Step Smart Vent Installation Guide
Now for the main event! This guide assumes you’re replacing an existing vent. If you’re installing a brand new vent opening, that’s a much bigger project, usually requiring HVAC and carpentry professionals.
Removing Your Old Vent
This is often the easiest part. You’ll generally only need a screwdriver.
- Locate the screws: Most old vents are held in place by two screws, usually on opposite sides.
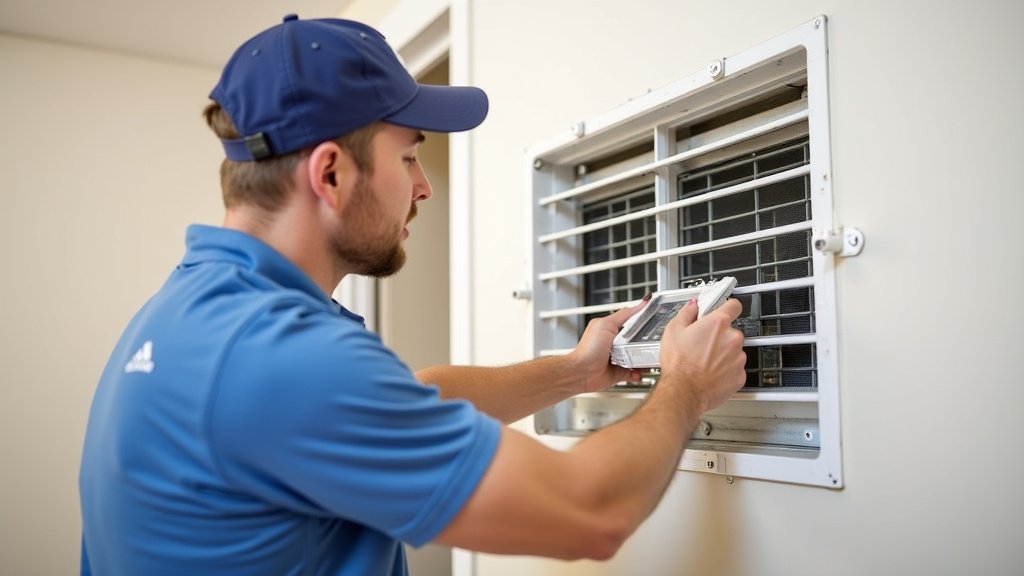
- Unscrew and remove: Carefully unscrew them. Once loose, gently pull the old vent cover out of the duct opening.
- Clean the opening: Use your vacuum or cloth to remove any dust, pet hair, or debris from inside the duct opening. A clean start is a good start!
Keep your old vent in case you ever need it. We found that homeowners sometimes reinstall old vents if they move or change their smart home setup.
Inserting the New Smart Vent
This is where your new device takes its place. It should fit snugly into the opening.
- Position the vent: Orient the smart vent correctly. Some have directional markings for airflow.
- Slide it in: Gently push the smart vent into the duct opening. It should slide in without much force. If it’s too tight, double-check your measurements. Don’t force it, or you could damage the vent or the ductwork.
- Secure with screws: Use the screws provided with your new smart vent to secure it in place. Don’t overtighten; just make it snug.
If you have a wired smart vent, this is the point where you would connect it to the power source. Always follow the manufacturer’s specific wiring instructions carefully. If you’re unsure, please call an electrician.
Connecting to Your Smart Home System
This is where the “smart” really comes into play. You’ll need your smartphone or tablet for this part.
Installing the App and Pairing
Each smart vent brand will have its own dedicated app. You’ll find it in your device’s app store.
- Download the app: Search for the brand’s app (e.g., “Flair Smart Vent App” or “Keen Home Smart Vent App”).
- Create an account: If you don’t have one, you’ll likely need to create a user account.
- Follow in-app pairing instructions: The app will guide you through connecting your smart vent. This usually involves putting the vent into “pairing mode” (often by pressing a button on the vent) and then searching for it within the app.
- Connect to your Wi-Fi: Most smart vents use your home’s Wi-Fi network to communicate. Ensure your Wi-Fi signal is strong in the vent’s location.
We found that having your Wi-Fi password ready makes this step much quicker.
Integration with Other Smart Home Hubs
Do you already use a smart home hub like Amazon Alexa, Google Home, or Apple HomeKit? Great! Most smart vents are designed to integrate seamlessly.
- Check compatibility: Before purchasing, always confirm your chosen smart vent works with your existing smart home ecosystem.
- Link accounts: Within your smart home hub’s app (e.g., the Alexa app), you’ll typically find an option to “add a device” or “link a service.” Select your smart vent’s brand and follow the prompts to link your accounts.
This integration lets you control your vents with voice commands or include them in automated routines. Imagine saying, “Alexa, cool down the living room!”
Post-Installation Checklist and Optimization
You’ve installed the vent, it’s connected – now what? Time to make sure it’s working perfectly and getting the most out of your new smart home addition.
Testing Your Smart Vent
A quick test ensures everything is functional.
- Manual control: Use the smart vent’s app to manually open and close the louvers. Do they move smoothly?
- Voice control (if integrated): Try a voice command through your smart assistant. “Hey Google, set living room vent to 70% open.”
- Listen for unusual sounds: The vent should operate quietly. Any grinding or loud noises might indicate an issue.
If anything seems off, recheck your connections and the app’s troubleshooting section.
Optimizing Your Home’s Airflow
This is the fun part – seeing the energy savings and comfort improvements. Many experts say that proper airflow distribution is key to an efficient HVAC system (Energy.gov).
Creating Zones
Smart vents shine when you create “zones” in your home. For example, if you have a guest bedroom that’s rarely used, you can keep that vent mostly closed. This redirects conditioned air to the rooms you use most.
Your smart vent app will typically allow you to name rooms and assign vents to them. We found that thinking about how you use each space helps you define your zones.
Scheduling and Automation
Set it and forget it! Most smart vent systems allow for schedules and automation rules. This means you don’t have to manually adjust them all the time.
Here are some ideas for automation:
- Nighttime setback: Close vents in living areas and open bedroom vents more before bed.
- Away mode: Close most vents when you’re out of the house to save energy.
- Occupancy sensors: If you have smart occupancy sensors, you can set vents to open only when someone is in the room.
It’s like having a tiny, invisible air traffic controller for your home’s comfort!
| Feature | Benefit | Consideration |
|---|---|---|
| Remote Control | Adjust airflow from anywhere. | Requires Wi-Fi and app. |
| Zoning | Direct air to specific rooms. | Best with multiple smart vents. |
| Scheduling | Automate vent adjustments. | Initial setup time. |
| Energy Savings | Reduce wasted heating/cooling. | Actual savings vary by usage. |
| Temperature Sensors | Automatic adjustments based on room temp. | May require additional sensors. |
Conclusion
Installing smart vents is a straightforward upgrade that genuinely enhances your home’s comfort and energy efficiency. By carefully choosing the right size and type, and following our simple steps, you can quickly integrate them into your smart home system. We found that many homeowners appreciate the immediate control and long-term savings these devices provide.
You’re now ready to enjoy a more optimized and responsive home environment. Take the next step and transform how you manage your home’s airflow, one smart vent at a time!
Frequently Asked Questions
Do smart vents work with all HVAC systems?
Yes, most smart vents are designed to be compatible with standard forced-air HVAC systems. They don’t directly interfere with your furnace or AC unit. Instead, they manage airflow by opening and closing in individual ducts.
Will smart vents save me money on my energy bills?
Many homeowners report energy savings. By directing conditioned air only where and when it’s needed, you reduce wasted heating and cooling. This can lead to your HVAC system running more efficiently and less frequently.
Can I install smart vents if I rent my home?
It depends on your landlord and lease agreement. Smart vents are generally easy to remove and reinstall. However, if you need to run new wiring for wired vents, it might be considered a permanent modification. We recommend checking with your landlord first.
What happens if my Wi-Fi goes down? Will my smart vents still work?
Most smart vents have a default failsafe or a manual override. They typically open to a certain percentage (e.g., 50%) if the Wi-Fi connection is lost, ensuring some airflow. You won’t be able to control them remotely, but your system won’t be completely blocked.
How many smart vents do I need for my home?
You don’t need to replace every vent. Many people start with key areas like bedrooms, offices, or rooms that are consistently too hot or cold. You can expand your system over time as you see the benefits and identify other areas for optimization.
