
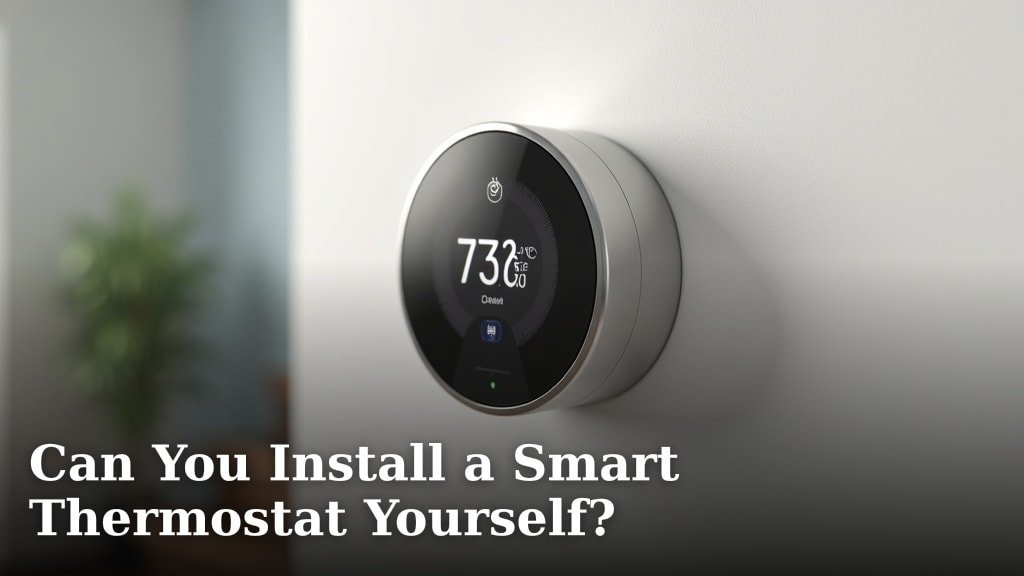
Yes, you can install a smart thermostat yourself, and it’s often simpler than you might think. Many modern smart thermostats are designed for DIY installation with clear instructions.
You don’t always need to hire an electrician or HVAC professional. Most people with basic home repair skills can handle it. This project can help you save money and feel great about a home upgrade.
- Most homeowners can install a smart thermostat.
- Specific tools are usually not required.
- Check compatibility with your existing HVAC system first.
- It’s generally a straightforward process.
- You can save on professional installation costs.
Ready to upgrade your home comfort? Let’s walk through what you need to know about installing a smart thermostat yourself.
Independent Smart Thermostat Installation: Your Guide
Most homeowners can successfully install a smart thermostat. It’s often a straightforward DIY project that saves you money on installation costs.
You might be surprised how user-friendly these devices have become. Many companies design them with the homeowner in mind. Think of it like assembling IKEA furniture, but for your heating and cooling system.
Is DIY Installation Right for You?
Before you even unbox that shiny new thermostat, let’s take a quick look in the mirror. Are you generally comfortable with basic home tasks? Can you distinguish a screwdriver from a wrench? Good.
If you’re someone who changes light bulbs, hangs pictures, or even tinkers with small electronics, you likely have the skill set needed. The biggest challenge often isn’t the physical work, but understanding your system’s wiring.
Basic Skills Checklist for DIY Installation
- Reading and following instructions carefully.
- Using a screwdriver (often just a Phillips head).
- Turning off your home’s circuit breaker safely.
- Taking a clear photo of existing wiring.
- Understanding simple diagrams.
If you checked off most of these, you’re off to a great start. We found that the biggest hurdle for many is simply the fear of messing something up. But with careful steps, you can avoid common pitfalls.
Compatibility: The First and Most Important Step
Imagine buying a new phone charger, only to find it doesn’t fit your phone. Frustrating, right? The same goes for smart thermostats. Compatibility is key, and it’s where you should always start.
Your existing HVAC system, including your furnace, air conditioner, and any heat pumps, dictates which smart thermostats will work. Not all smart thermostats are universal. Some require specific wiring configurations.
Understanding Your HVAC System’s Wiring
This sounds more complicated than it is. Most thermostats connect to your HVAC system using low-voltage wires. These wires typically correspond to different functions:
- R (Red): Power (often R, Rc, or Rh).
- Y (Yellow): Cooling.
- G (Green): Fan.
- W (White): Heating.
- C (Blue/Black): Common wire, provides continuous power.
The “C-wire” (common wire) is often the star of the show. Many smart thermostats need a continuous power supply that only a C-wire can provide. If you don’t have one, you might need a thermostat that comes with a power extender kit or hire a professional.
Your current thermostat’s wiring is your treasure map. Take a photo before you disconnect anything! This will be your reference point for connecting the new device.
Tools You’ll Need (Probably Already Have Them!)
You won’t need a toolbox full of specialized gadgets. For most installations, the required tools are surprisingly minimal. This is part of what makes it such an accessible DIY project. We found that most homeowners already possess these basic items.
Essential Tool Kit for Smart Thermostat Installation
- Screwdriver: Usually a Phillips head, sometimes a flathead for wire terminals.
- Pencil: To mark new mounting holes.
- Drill (optional): If you need to create new mounting holes.
- Level (optional): To ensure your new thermostat is straight.
- Pliers/Wire Strippers (unlikely but possible): If wires are too short or frayed.
- Your smartphone: For taking a picture of your old wiring and for the smart thermostat app.
Sometimes, the smart thermostat itself comes with a small screwdriver or a built-in level. How thoughtful, right? It’s like they know you’re doing it yourself!
The Installation Process: A Step-by-Step Overview
Let’s map out the general steps. Each smart thermostat will have its own specific instructions, so always follow those. But this overview will give you a good idea of what to expect.
Your DIY Smart Thermostat Installation Checklist
- Turn off power: Crucial safety step! Go to your circuit breaker and turn off the power to your HVAC system. Double-check it’s off.
- Remove old thermostat cover: Gently pull it off.
- Take a photo of wiring: This is your key reference. Label wires if needed.
- Disconnect old wires: Carefully loosen terminals and remove wires.
- Remove old thermostat base: Unscrew it from the wall.
- Install new thermostat base: Feed wires through, mount the new base.
- Connect new wires: Match the wires to the corresponding terminals on the new base, using your photo.
- Attach new thermostat display: Snap it onto the base.
- Turn power back on: Head back to the circuit breaker.
- Set up with app: Follow the on-screen prompts for Wi-Fi connection and programming.
Most manufacturers provide excellent visual guides or even videos. Don’t be afraid to pause and rewind the video as you work. It’s like having an expert right there with you.
When to Call a Professional (And Why It’s Okay)
While DIY is often possible, there are times when calling for help is the smart move. There’s no shame in admitting when a task is beyond your comfort zone or skill level.
Here are some scenarios where a professional HVAC technician or electrician can be a lifesaver:
Consider calling a pro if:
- You don’t have a C-wire and the thermostat doesn’t come with an adapter, or an adapter isn’t an easy fit for your system.
- Your HVAC system is complex (e.g., multi-stage, zoned systems, or uncommon configurations).
- You have high-voltage wiring (though most thermostats are low-voltage, always check).
- You encounter unexpected issues like frayed wires, old wiring that crumbles, or no power after installation.
- You’re simply not comfortable working with electrical components, and that’s perfectly valid.
A professional installation ensures everything is correctly wired and your system functions efficiently. Investing a little in professional help can prevent costly mistakes down the line (National HVAC Association). We found that many people appreciate the peace of mind a professional offers.
Common Roadblocks and How to Overcome Them
Even with clear instructions, sometimes you hit a snag. What if your wires don’t match the new terminals exactly? What if the Wi-Fi won’t connect?
Troubleshooting Tips for DIY Installers
| Problem | Solution |
|---|---|
| No C-wire | Check if your thermostat includes a power extender kit; otherwise, consider a specific C-wire adapter or professional installation. |
| HVAC system not responding | Double-check power is on; ensure all wires are firmly in their terminals; verify compatibility; contact tech support. |
| Wi-Fi connection issues | Make sure your router is within range; check your Wi-Fi password; restart your router and thermostat; try setting up via the app again. |
| Thermostat not turning on | Confirm power to your furnace/AC is on at the breaker; ensure the display is fully connected to the base. |
| Holes don’t line up | Use your drill to create new pilot holes; use drywall anchors if needed to secure the new base. |
Most thermostat manufacturers have excellent customer support. Don’t hesitate to give them a call. They can often walk you through specific issues. Remember, you’re not the first person to have this question!
In the end, installing a smart thermostat yourself is a rewarding project. It gives you greater control over your home’s comfort and can lead to significant energy savings. With a bit of preparation and patience, you can absolutely do it.

Conclusion
You’ve seen that installing a smart thermostat yourself is well within reach for most homeowners. We found that with a little preparation and careful attention, you can successfully upgrade your home’s comfort system. Take the time to check compatibility, gather your basic tools, and follow the instructions closely. This DIY project can save you money and give you a great sense of accomplishment.
Ready to take the next step? Choose a smart thermostat that fits your needs and HVAC system, then confidently begin your installation journey.
Frequently Asked Questions
How long does it typically take to install a smart thermostat?
Most DIY smart thermostat installations can be completed in about 30 minutes to an hour. This time includes taking photos, wiring, mounting, and initial setup through the app. More complex systems or troubleshooting can extend this time.
Will a smart thermostat save me money on my energy bills?
Yes, many homeowners report significant savings on their energy bills after installing a smart thermostat. Features like smart scheduling, geofencing, and learning capabilities help optimize your heating and cooling usage. The amount saved depends on your home, habits, and the thermostat’s features.
Do smart thermostats work with all types of heating and cooling systems?
Not all smart thermostats are universally compatible. It’s essential to check your specific HVAC system type (e.g., conventional, heat pump, multi-stage) against the thermostat’s compatibility list. We recommend using the manufacturer’s online compatibility checker before purchasing.
What if my old thermostat has more wires than the new smart thermostat?
It’s rare for a new smart thermostat to have fewer terminals than an old one, but if it happens, re-check compatibility. You might have extra wires for accessories your new thermostat doesn’t support, or the wires might not be active. Consult your smart thermostat’s manual or support.
Can I control a smart thermostat without Wi-Fi?
Most smart thermostats require a Wi-Fi connection for their “smart” features, like remote control via an app or smart home integration. However, they usually function as basic programmable thermostats, allowing manual temperature adjustments directly on the device, even without an active Wi-Fi connection.
