
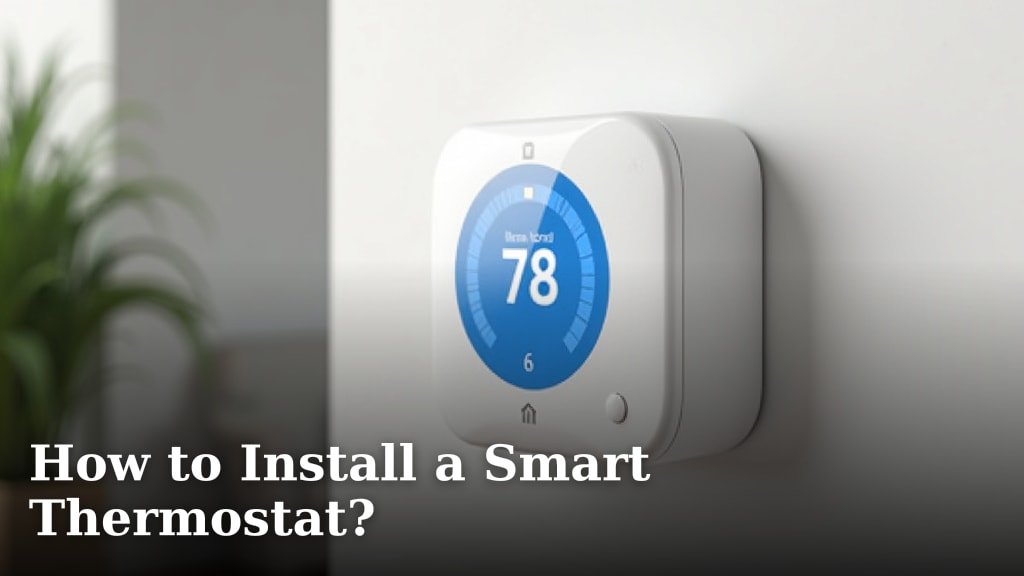
To install a smart thermostat, you will typically need to turn off power to your existing thermostat, connect the new base plate to your home’s wiring, and then securely attach the new thermostat unit. This process usually takes less than an hour. We found that most smart thermostats come with clear step-by-step instructions and often include helpful apps to guide you.
Many homeowners are upgrading to smart thermostats to save energy and gain more control over their home’s climate. They allow you to adjust temperatures remotely, create schedules, and often learn your preferences for optimal comfort. Smart thermostats bring a touch of modern convenience to your home’s heating and cooling system.
TL;DR
- Turn off power at the circuit breaker.
- Label your existing wires before disconnecting them.
- Mount the new thermostat’s base plate.
- Connect wires to the new base plate.
- Attach the smart thermostat unit and restore power.
Are you ready to take control of your home’s heating and cooling with a smart thermostat? Let’s walk through exactly how this works, step by step, so you can enjoy a more comfortable and efficient home.
Preparing for Your Smart Thermostat Installation
Before you jump into swapping out your old thermostat, a little prep work goes a long way. This ensures a smooth and safe installation. We found that taking these initial steps can save you time and prevent headaches later.
Gather Your Tools and Materials
Having everything you need within reach prevents frustrating stops and starts. Think of it like cooking: you gather all ingredients before you begin, right? Here’s a quick checklist of what you’ll likely need:
- Your new smart thermostat kit (device, base plate, screws, anchors).
- A small Phillips head screwdriver.
- A flathead screwdriver (sometimes useful for prying).
- Needle-nose pliers (for bending wires).
- A pen or pencil.
- Your smartphone or tablet (for the app setup).
- A flashlight or headlamp (for dimmer areas).
- A drill and appropriate drill bits (if installing new wall anchors).
- Safety glasses (always a good idea).
Check Compatibility with Your HVAC System
This is a big one. Not all smart thermostats work with all heating and cooling systems. You want to avoid buying a device that won’t function in your home. We’ve seen many homeowners get stuck here, so it’s worth checking upfront.
Understanding Your System Type
Most homes have either a “conventional” (furnace and AC) system or a “heat pump” system. Smart thermostats are usually designed for one or both. Check your existing thermostat for clues or consult your HVAC manual.
Wire Configuration (C-wire)
Many smart thermostats require a “C-wire” (common wire) to provide continuous power. Without it, the thermostat might rely on batteries, drain quickly, or not function optimally. Some models offer workarounds, but a C-wire is usually best. The good news? You can often check for a C-wire behind your old thermostat’s faceplate.
Powering Down and Disconnecting
Safety first! Working with electricity means you always need to be careful. The most important step here is cutting power. It’s like turning off the water main before fixing a leaky faucet.
Locate Your Circuit Breaker
Find your home’s main electrical panel. This is usually in your basement, garage, or a utility closet. Look for the breaker switch labeled for your “Furnace,” “HVAC,” or “Air Handler.” If nothing is clearly marked, you might turn off the main switch or a major appliance area to be safe. Double-check that the power is off at your thermostat by trying to turn your system on.
Remove Your Old Thermostat
Your old thermostat usually comes off in two parts: the faceplate and the backplate. The faceplate often pops or snaps right off. Sometimes, there are small screws. Once the faceplate is removed, you’ll see the wires connected to the backplate.
Label and Disconnect Wires
This is perhaps the most critical step for a smooth installation. Take a picture of your old thermostat’s wiring before you touch anything. Most smart thermostats come with sticky labels for each wire. Match the label (e.g., “R,” “W,” “Y,” “G,” “C”) to the terminal on your old thermostat. Then, carefully disconnect each wire. Don’t let the wires fall back into the wall!
- Take a clear photo of the existing wiring setup.
- Use the provided labels or masking tape to mark each wire according to its terminal designation (R, C, Y, G, W, etc.).
- Carefully loosen the terminal screws and remove each wire.
- Gently tuck the labeled wires back into the wall, but keep them accessible.
Mounting Your New Smart Thermostat
With the old thermostat gone, it’s time for the new. This step involves installing the new base plate, which is the brains of the operation before the display snaps on.
Attach the New Base Plate
Your smart thermostat kit comes with a new mounting plate. Hold it up to the wall where your old thermostat was. Many smart thermostats are designed to use existing screw holes, but sometimes you might need to drill new ones. Use the provided screws and wall anchors if necessary. Make sure the base plate is level – nobody wants a crooked thermostat!
The base plate is where all the wires will connect. We found that most manufacturers include a small level directly on the plate or suggest using a separate level tool.
Wiring and Final Assembly
Now for the heart of the installation: connecting those labeled wires. This is where your careful labeling earlier pays off big time! Match the wires to their new homes.
Connect the Wires
Refer to the wiring diagram in your smart thermostat’s manual. This is crucial as terminals can sometimes differ slightly between brands. Take your labeled wires and gently insert them into the corresponding terminals on the new base plate. Tighten the screws to secure each wire, but don’t overtighten. A good connection is firm, but not squashed.
Here’s a simplified table comparing common wire functions, which can be helpful if you’re ever uncertain:
| Wire Color (Typical) | Terminal Label | Function |
|---|---|---|
| Red | R or Rc or Rh | 24V Power (Heating & Cooling) |
| White | W or W1 | Heating |
| Yellow | Y or Y1 | Cooling |
| Green | G | Fan |
| Blue or Black | C | Common (Constant 24V power) |
Attach the Thermostat Display
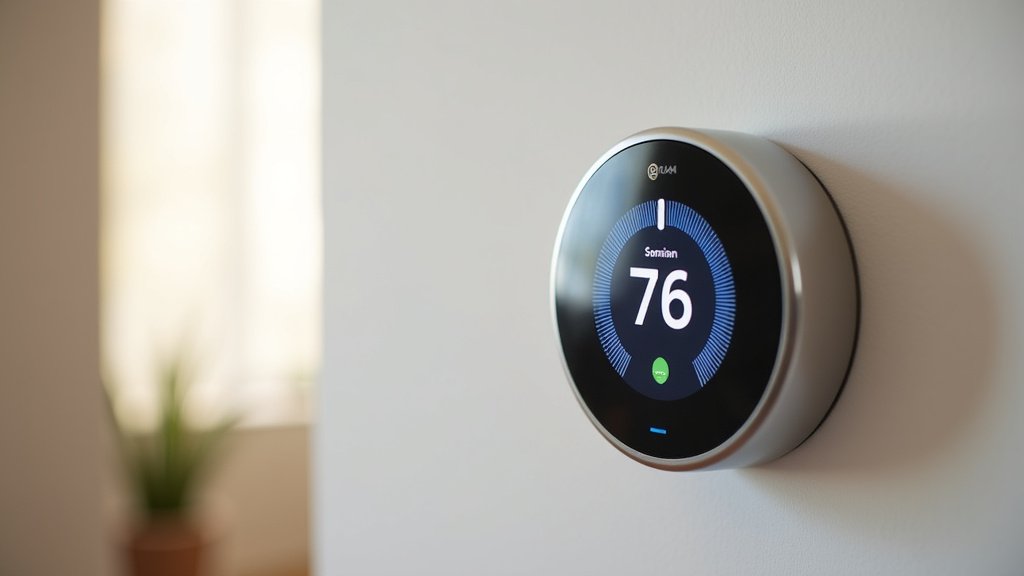
Once all the wires are securely connected to the base plate, it’s time to attach the main display unit. This usually involves snapping it into place or aligning it with pins. You’ll often hear a satisfying click. Make sure it’s firmly seated.
Restoring Power and Initial Setup
The finish line is in sight! With the physical installation complete, you can now bring everything to life.
Turn Power Back On
Head back to your circuit breaker panel and flip the switch for your HVAC system back to the “ON” position. Your new smart thermostat should power up. You’ll likely see a logo, a welcoming message, or prompts on its screen.
Configure Via the App
Most smart thermostats rely heavily on their companion smartphone app for setup. Download the app (if you haven’t already), create an account, and follow the on-screen instructions. This usually involves connecting your thermostat to your home Wi-Fi network. You’ll also likely tell it about your system type (furnace, heat pump, etc.) and answer a few questions about your home. This ensures it operates correctly and efficiently.
Many apps will walk you through a “system test” to ensure your heating, cooling, and fan are all working as expected. This step is crucial for confirming a successful installation.
Enjoying Your Smart Thermostat
Congratulations! You’ve successfully installed your smart thermostat. Now the real fun begins. You’ll want to explore the app, set up schedules, and learn about its energy-saving features. Many experts agree that properly utilizing a smart thermostat’s features can lead to significant energy savings over time (Energy Star).
Take some time to familiarize yourself with all the capabilities. This might include remote control, geofencing (adjusts based on your phone’s location), energy usage reports, and integration with other smart home devices like voice assistants. Your home just got a little smarter, and you’re now in better control of your comfort and energy bills.
Conclusion
You’ve seen that installing a smart thermostat might feel intimidating, but it’s a manageable DIY project. By carefully following the steps—from preparation and wiring to the final app setup—you can confidently upgrade your home. We found that the biggest keys to success are safety, careful labeling, and consulting your new thermostat’s instructions.
Once installed, you’ll gain greater control over your comfort and energy use. Now, go enjoy the benefits of a smarter, more efficient home that responds to your needs.
Frequently Asked Questions
What if my old thermostat has more wires than my new smart thermostat?
Don’t worry if you find extra wires. Your smart thermostat manual will show which terminals it uses. Typically, unused wires are simply taped off individually with electrical tape. Just ensure the wires you do connect match the instruction guide.
Can a smart thermostat work without Wi-Fi?
A smart thermostat will usually function as a basic programmable thermostat without a Wi-Fi connection. However, to access its smart features like remote control, energy reports, or voice assistant integration, a stable Wi-Fi connection is essential. Many need Wi-Fi for initial setup too.
How do I know if I have a C-wire without opening the wall?
Often, you can tell if you have a C-wire by simply removing the faceplate of your existing thermostat. Look for a wire connected to a terminal labeled “C.” If there isn’t one, check if a wire is tucked into the wall behind the thermostat. Some homes have dormant C-wires that can be activated.
Will a smart thermostat save me money right away?
Immediate savings vary, but the potential is there. Smart thermostats save money by optimizing your heating and cooling schedules, learning your preferences, and allowing remote adjustments. It might take a few billing cycles to see significant difference, especially if you actively use its energy-saving features.
Can I use my smart thermostat with my smart home assistant like Alexa or Google Home?
Yes, most popular smart thermostats are designed to integrate seamlessly with smart home ecosystems like Amazon Alexa, Google Home, and Apple HomeKit. You’ll usually link them through the smart assistant’s app after your thermostat is fully set up and connected to Wi-Fi.
